IBM Cloud Account Settings
Before you map your IBM Cloud account with Jamcracker Appliance, you must have the following information ready:
Creat a new account with IBM Cloud
- Launch IBM Cloud.

- Click Create a free account.

- Enter your email ID. The system will validate your email ID.

- Enter your First Name, Last Name, select your region and enter a unique password for your account.
- Click Create Account. A confirmation message is displayed.
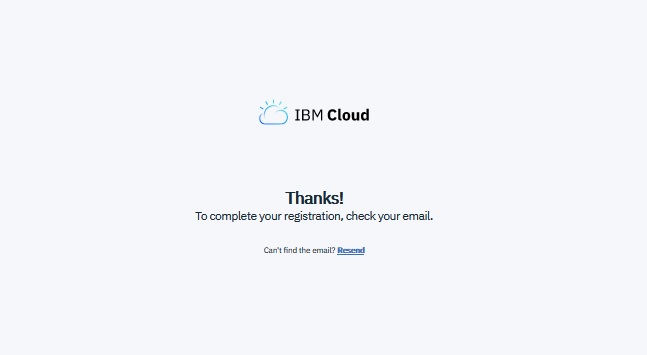
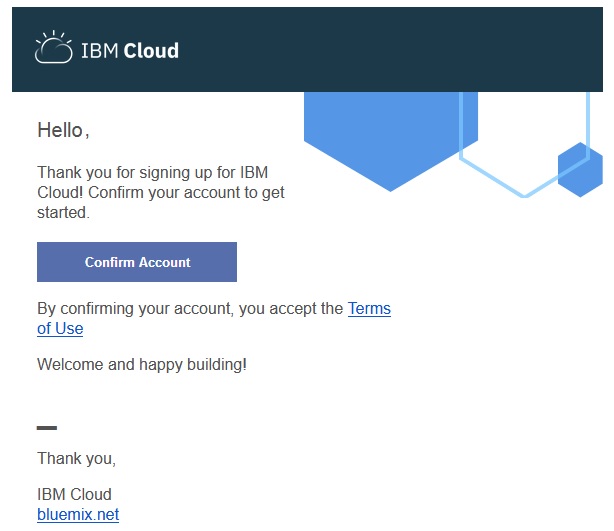
- An email is sent to your registered email ID. You must confirm your account by
clicking on Confirm Account.
- A confirmation message is displayed.
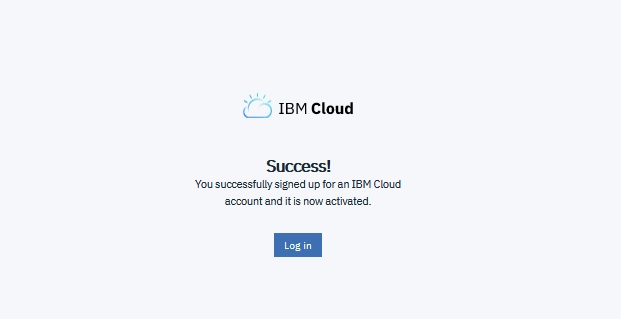
- Click Login. You will be asked to enter your IBMid and Password
to login into IBM Cloud.

- Click Continue.
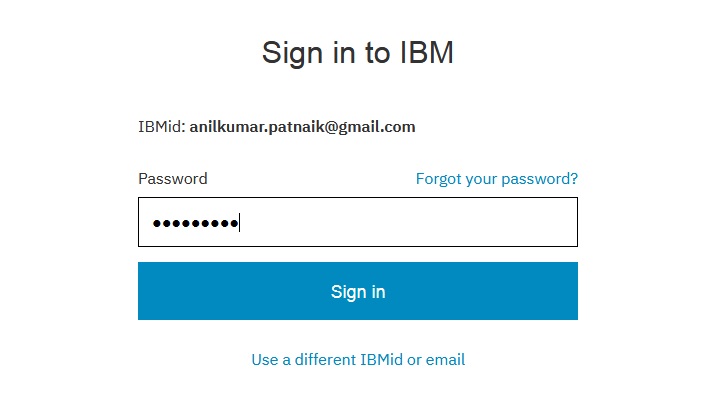
- Click Sign In.
- Click Proceed to Acknowledge the privacy settings and other terms of use.
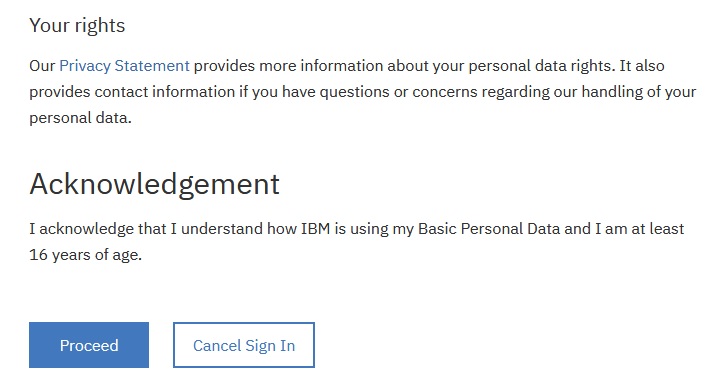
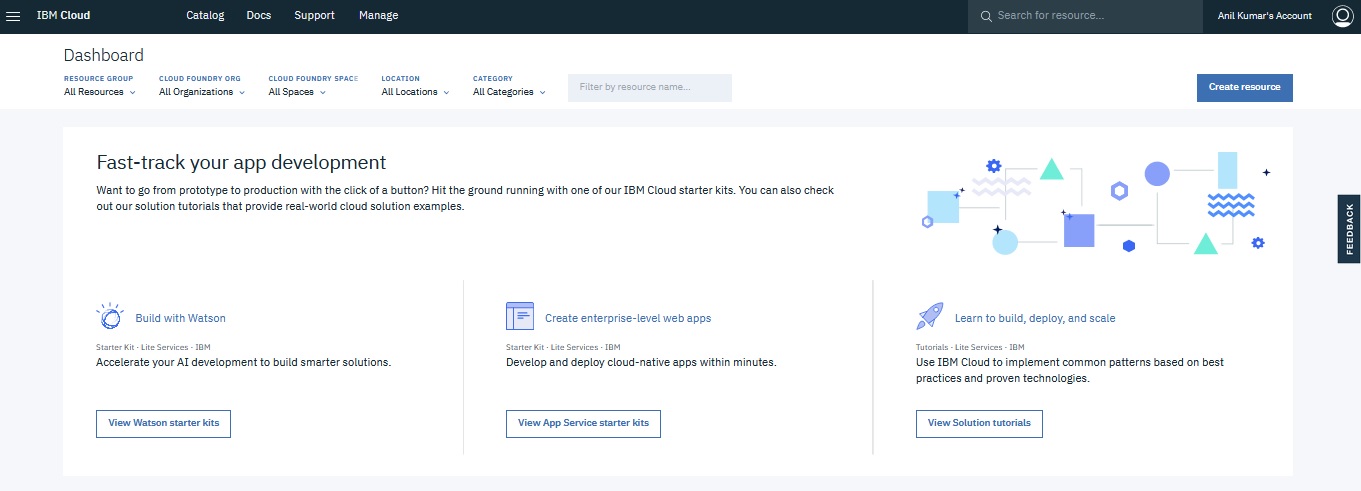
- You will re-directed to the landing page of IBM Cloud.
Existing User Log into IBM Cloud
As an existing Softlayer user, when you login to IBM-portal for the first time with your existing IBMID and password, a verification email will be sent to your registered email id, where you must verify by clicking on "Confirm Account".
- Launch IBM Cloud.
- Click Log in. You will be asked to enter your IBMid and
Password to login into IBM Cloud.
- Click Continue.
- Click Sign In. You will re-directed to the landing page of IBM Cloud.
Now that you logged into the IBM Cloud, with your free account you can place few basic services that are listed in the catalog. However, to place orders such as Virtual Machine instances, storage etc., you must upgrade your account to Pay-As-You-Go. To upgrade your account, click the Profile icon and click Upgrade account option.
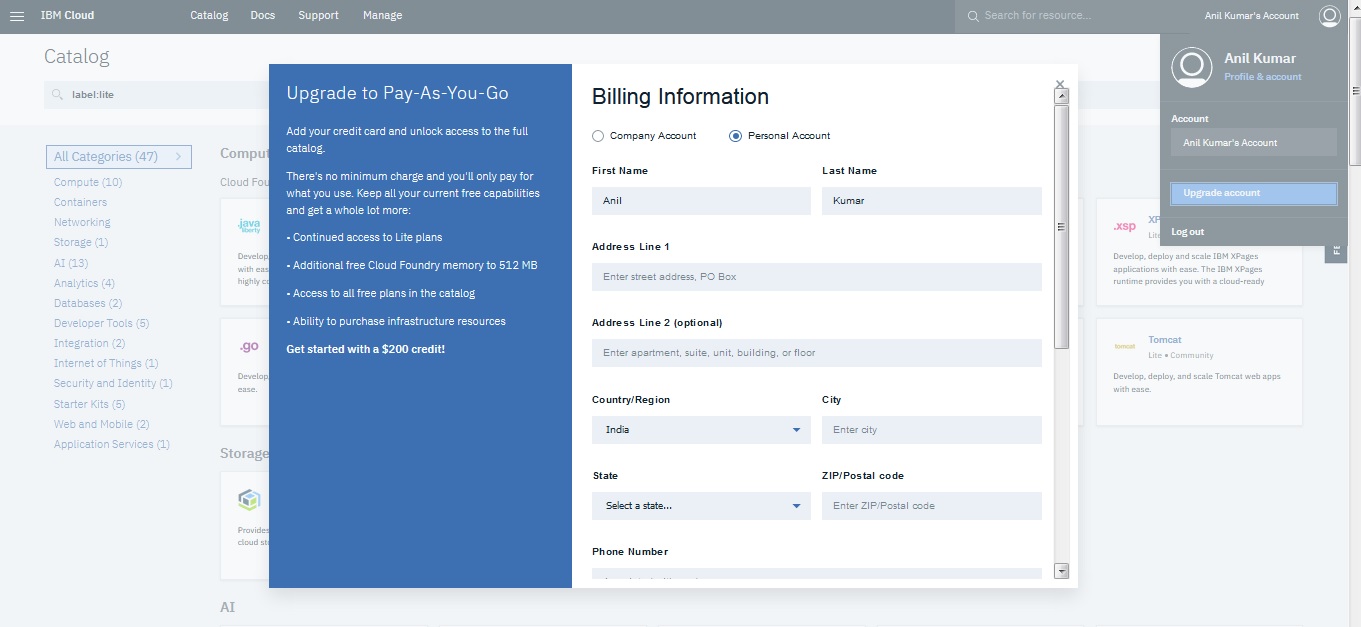
You must provide your Company/Personal details and Credit Card details to upgrade your account. However, you won't be charged until you place an order. There's no minimum charge and you'll only pay for what you use.
Your account will be in Upgrade Pending status, until someone from IBM Team review/approves it. So, once your account is reviewed/approved, you can start placing your orders.

Let's assume that your account got reviewed/approved. You can follow the below steps to collect all the required information such as Account ID, API Username, and API Key:
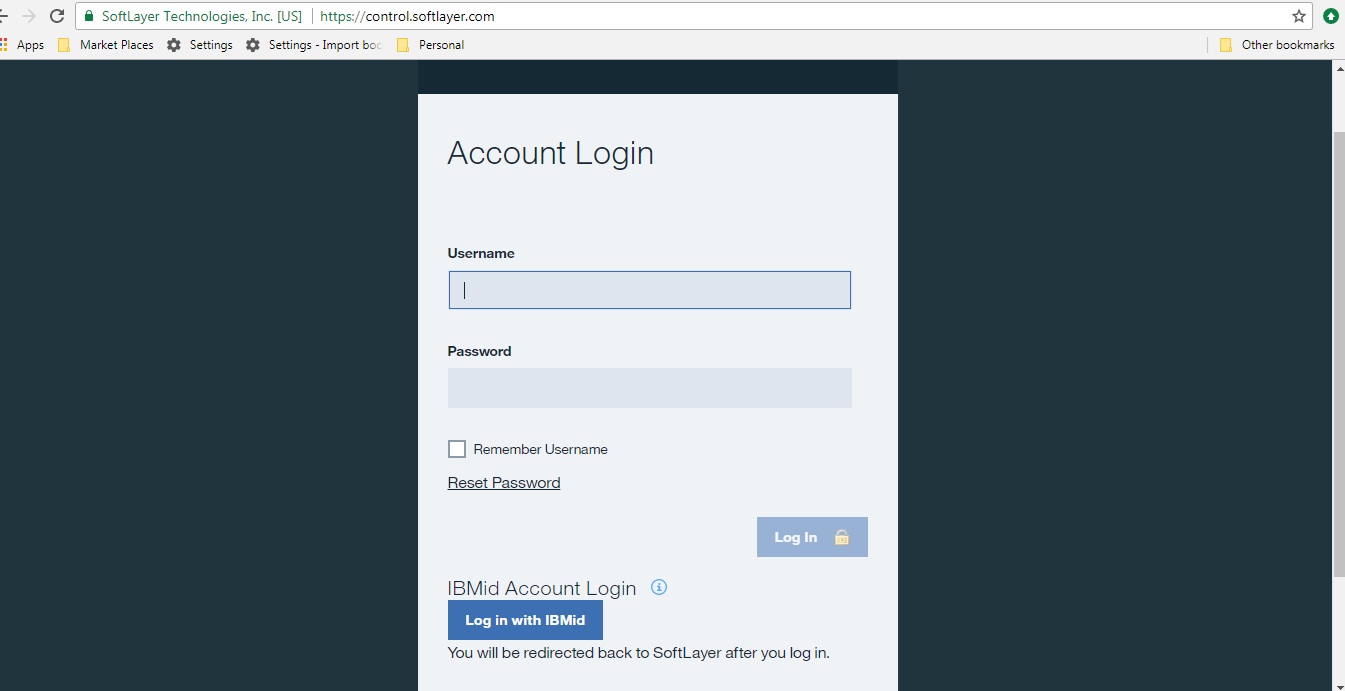
- Launch IBM Bluemix (SoftLayer) Console, click Log in
with IBM ID button and login using your credentials. You can use the
same account credentials that you have created while creating an account with
IBM Cloud. However, please note that your account must be reviewed/approved by
the IBM team before you log into IBM Softlayer Console.
- After you log into your account, make note of the account id displayed at the
top right corner of the page.

- Navigate to Account > Users > User List and select required user
account.
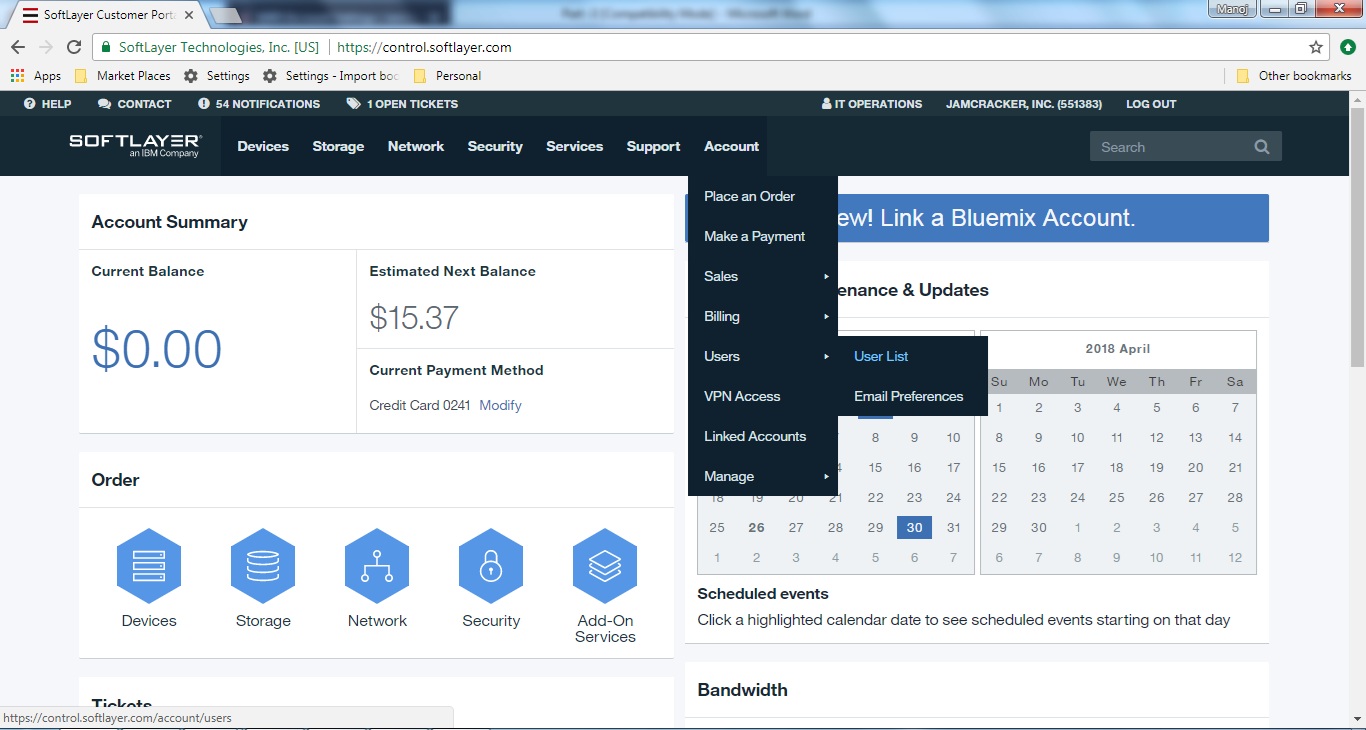
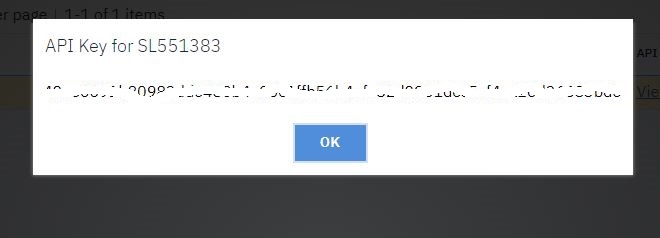
- Click the View link, to view your API Key.
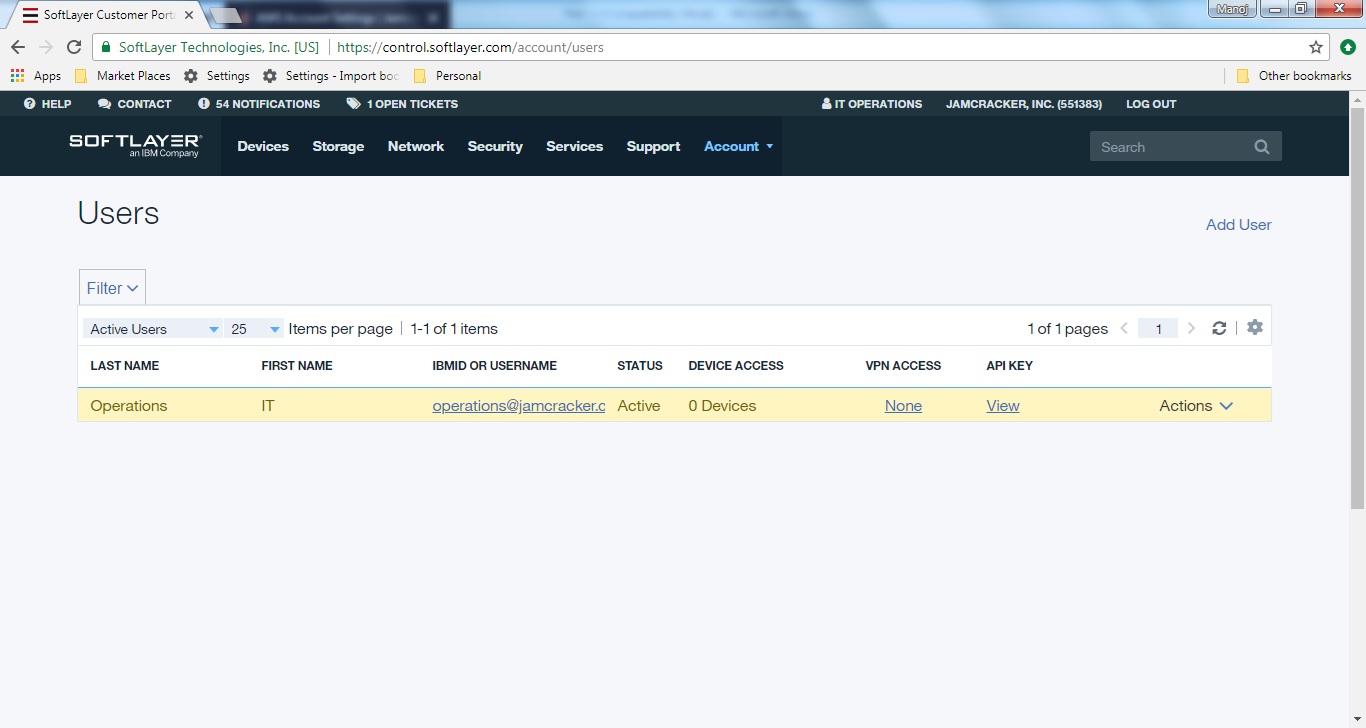
- Make note of it.
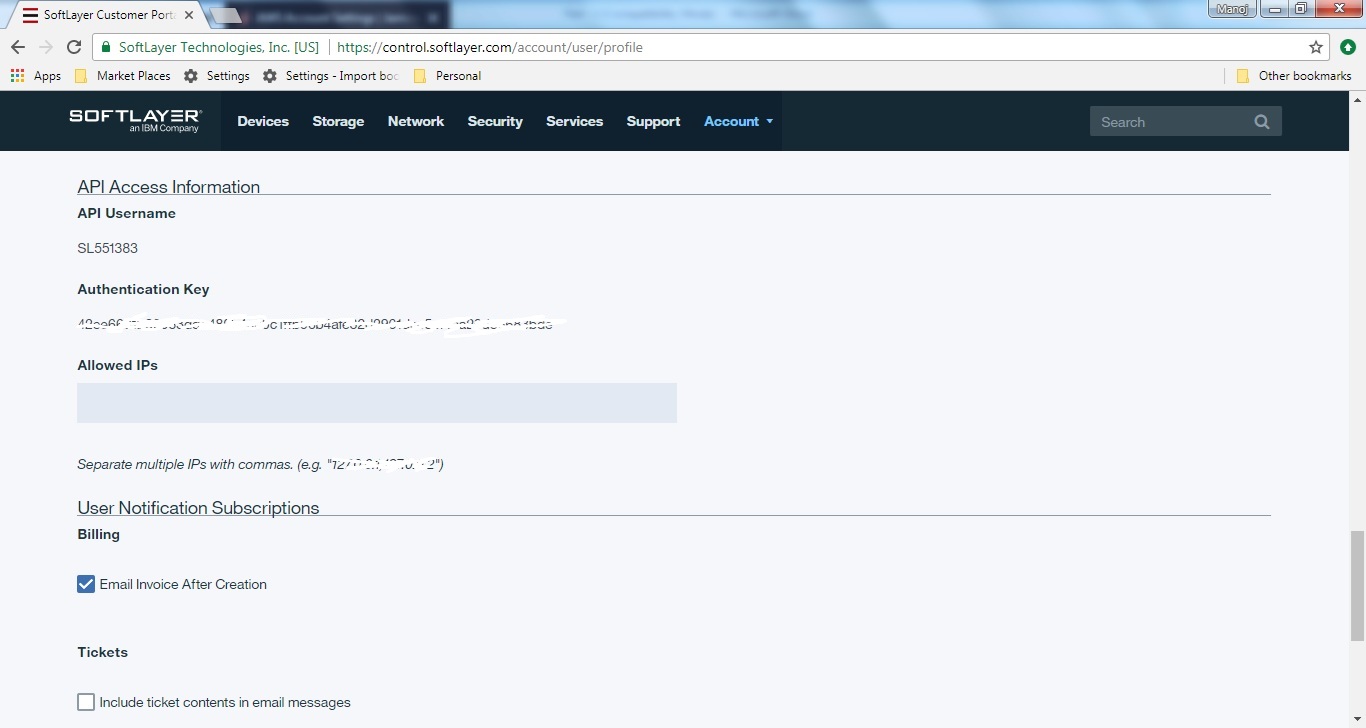
- Navigate to Account > Users > User List and select required user
account and click on IBMid or username, under API access information, make note
of username and authentication key.
Now that you have made note of all the required information, add the information in "Add Cloud Credentials" page.
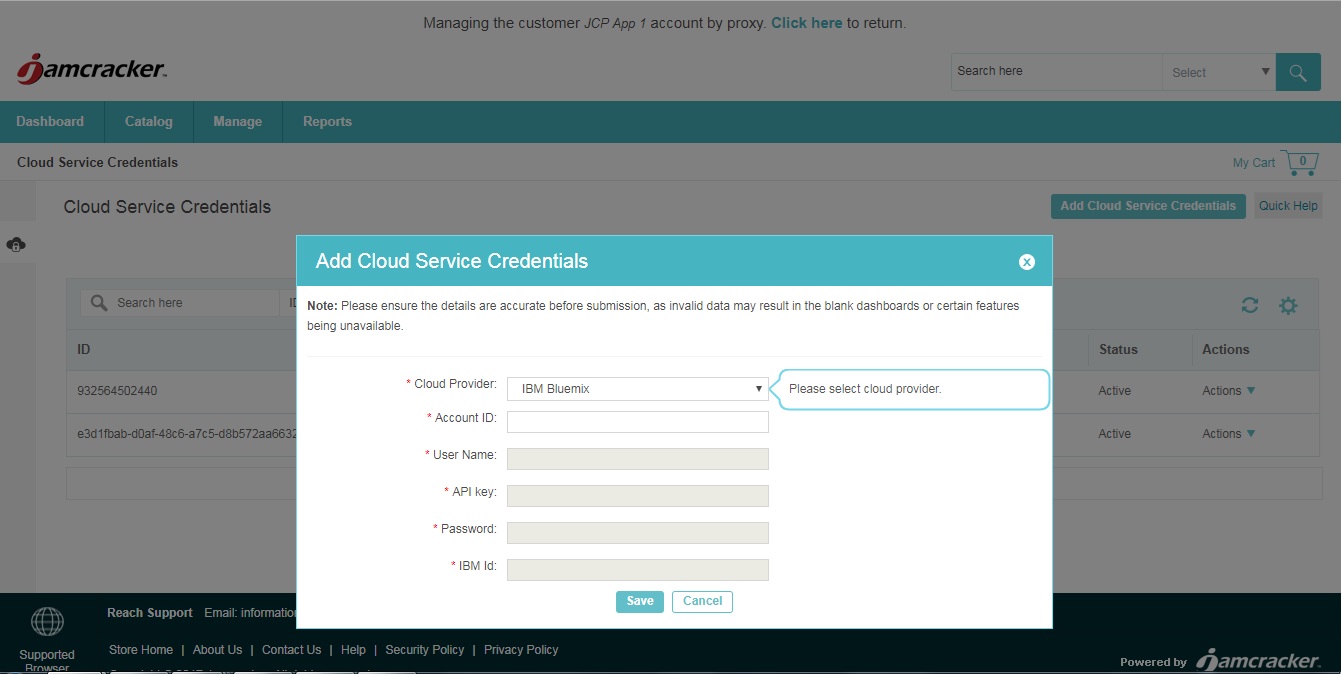
The following table explains the configuration settings fields for IBM Bluemix (SoftLayer) Account.
| Fields | Value |
|---|---|
| Cloud Provider | Select the cloud provider from the drop-down list. |
| Account ID | Type the account ID. |
| User Name | Type the user name as in IBM Bluemix records. |
| API Key | Type the API Key. |
| Password | Type the account password as received from IBM Bluemix. |
| IBM ID | Type the account IBM Bluemix ID. |
- You might have provided wrong credentials.
- Latency in data processing.
- If JobServer is down.
- Unexpected special characters in the processing file.