Setting Up Domain in GSuite
In this section, we will take you through a step by step process to create a domain using your GSuite account and also explains you on how to enable Single Sign On in Jamcracker Appliance.
- Login to your GSuite Admin Console.
- If you are an existing GSuite account holder, click the Sign in link and
enter your domain and select the Access to (Admin Console, Email or Drive) and
Click Go.
OR
- If you don't have an account, click Get Started and click Next.
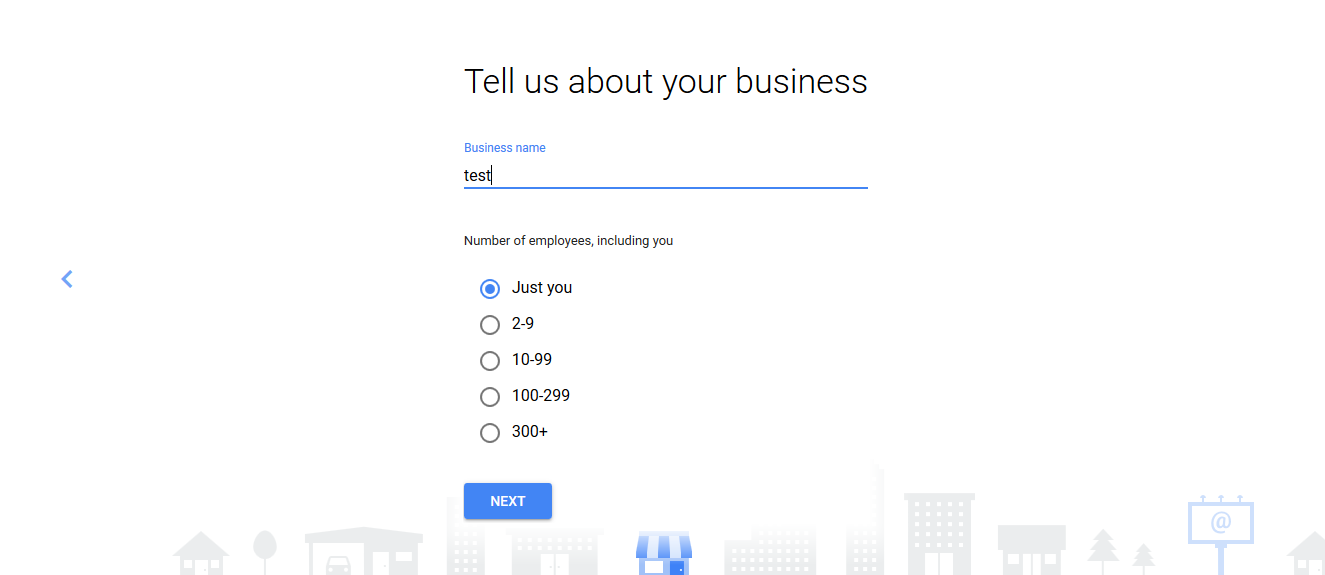
- Enter your Business Name and select number of employees in your
organization. Click Next.
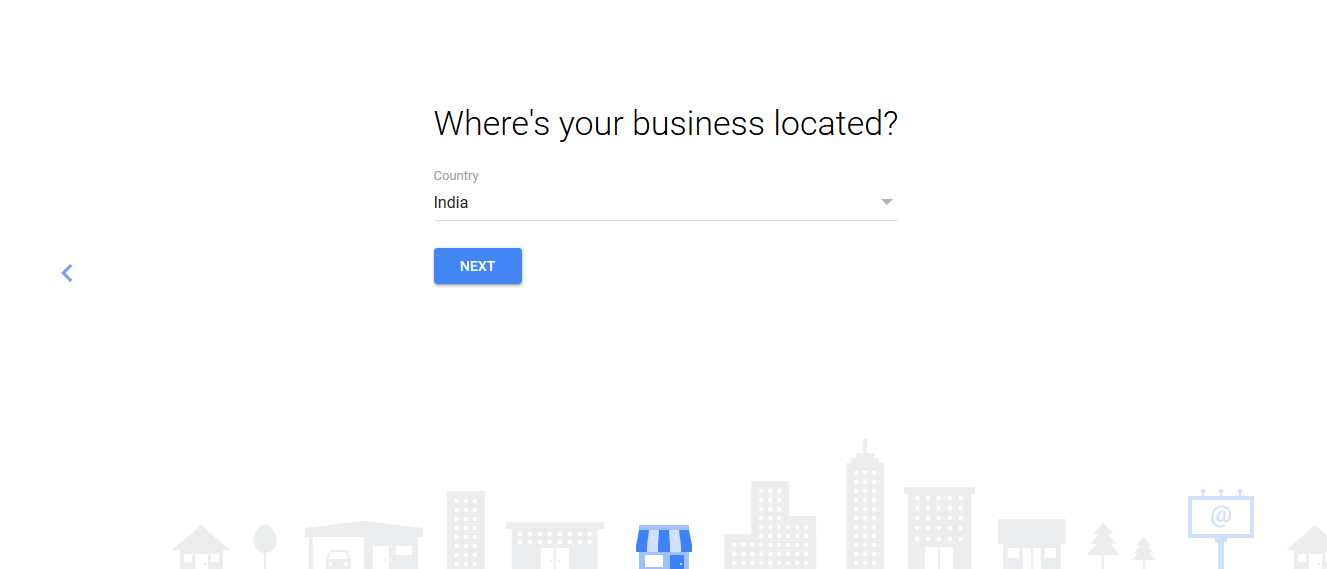
- Select your country. Click Next.
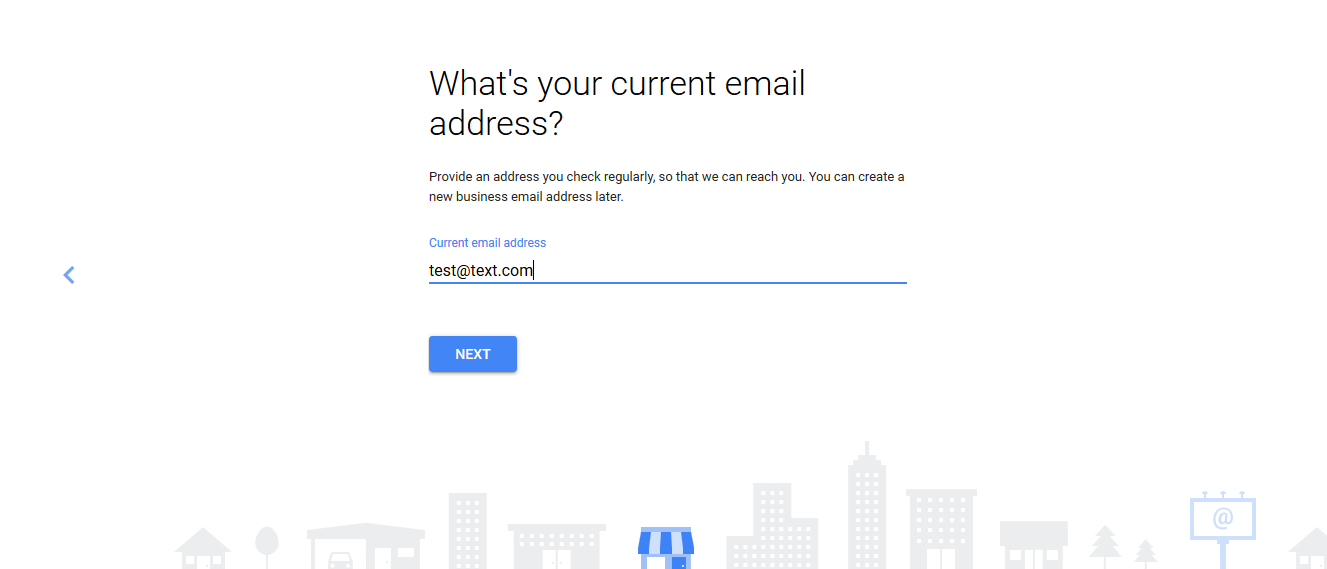
- Enter your email address. Click Next.
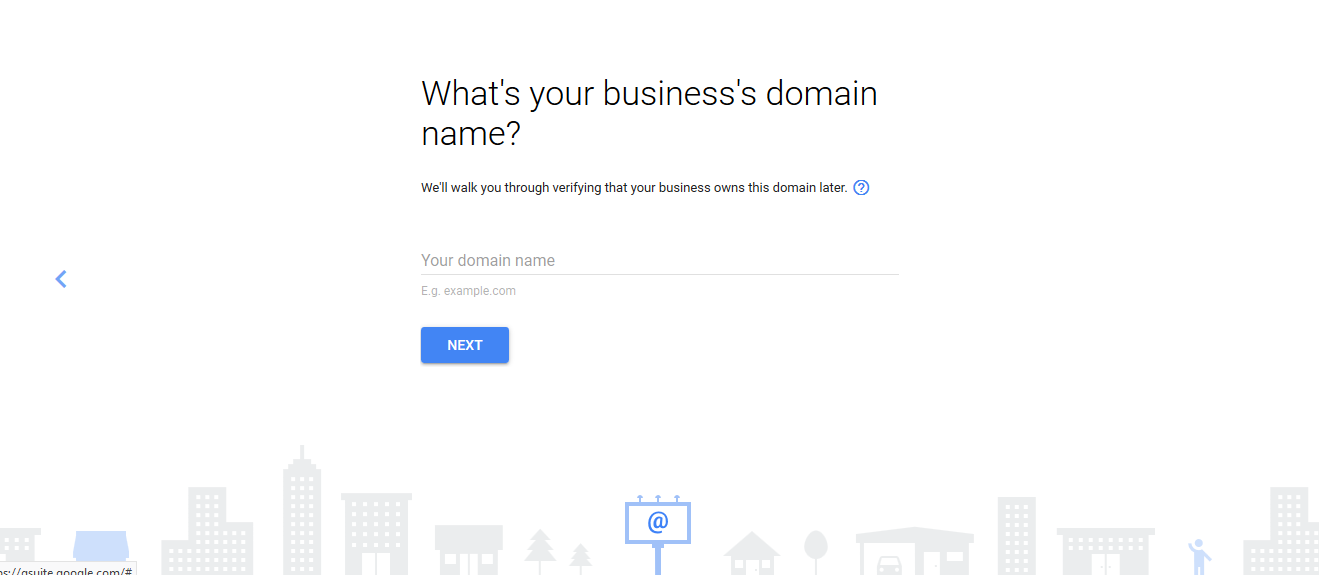
- If you already have a domain, click Yes, I Have One I Can Use. Enter the
domain name and click Next.
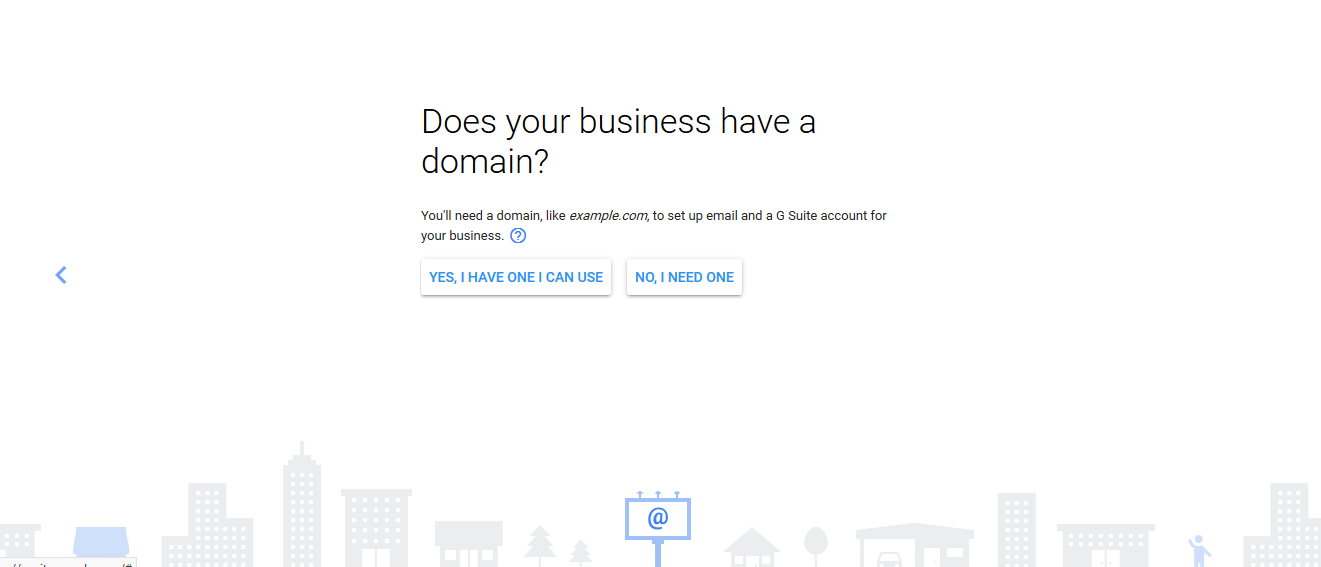
OR
- If you don't have a domain, click No, I Need One.
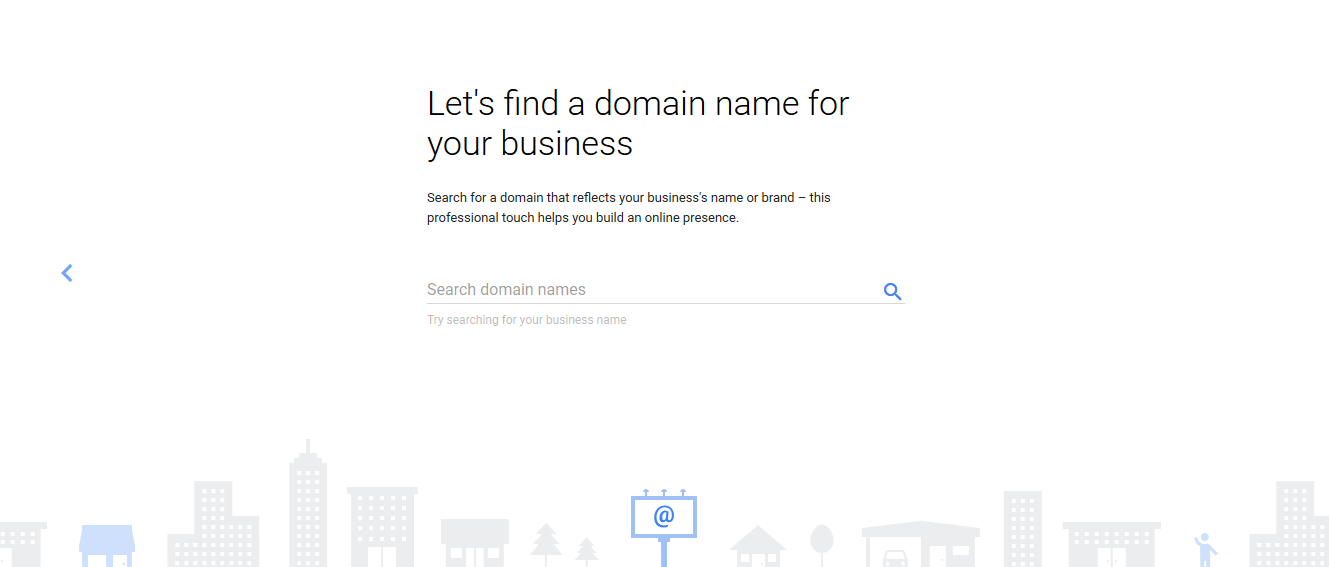
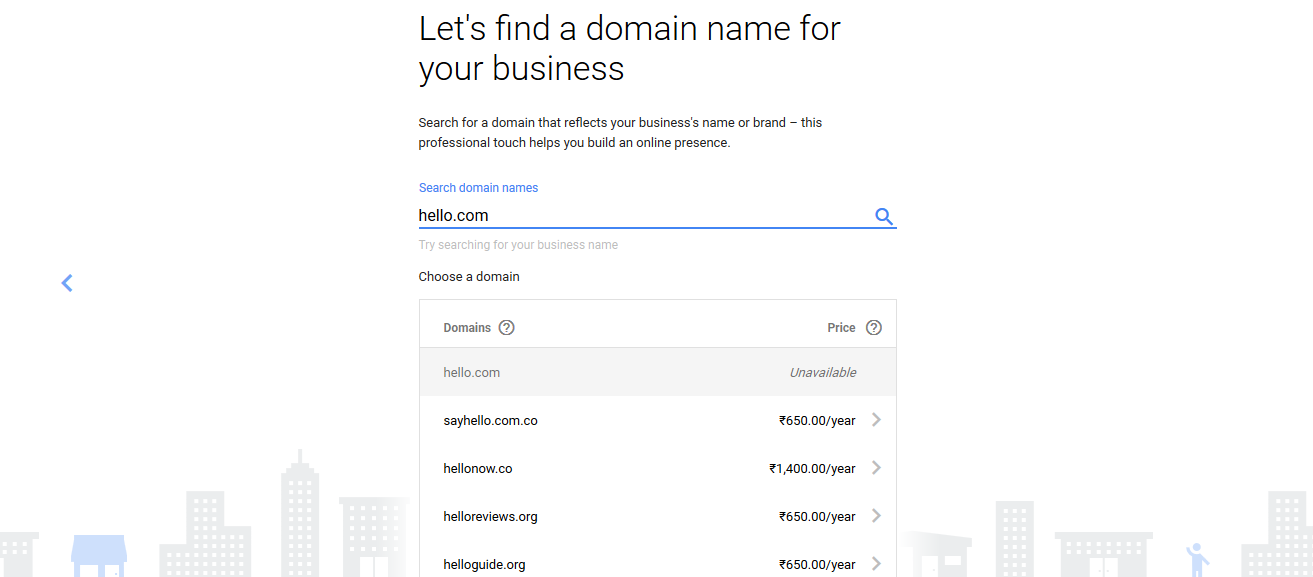
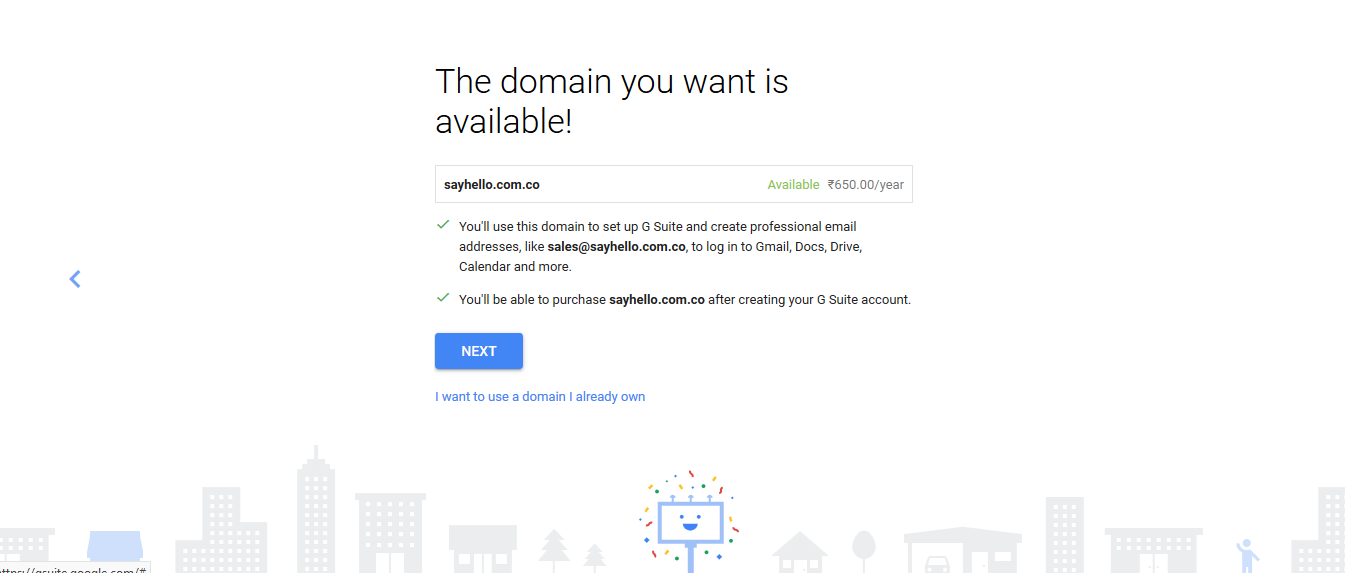
- Enter a domain name of your choice. If you want to check whether the domain name
is available or not, click Search. If the domain name is available, click
Next.
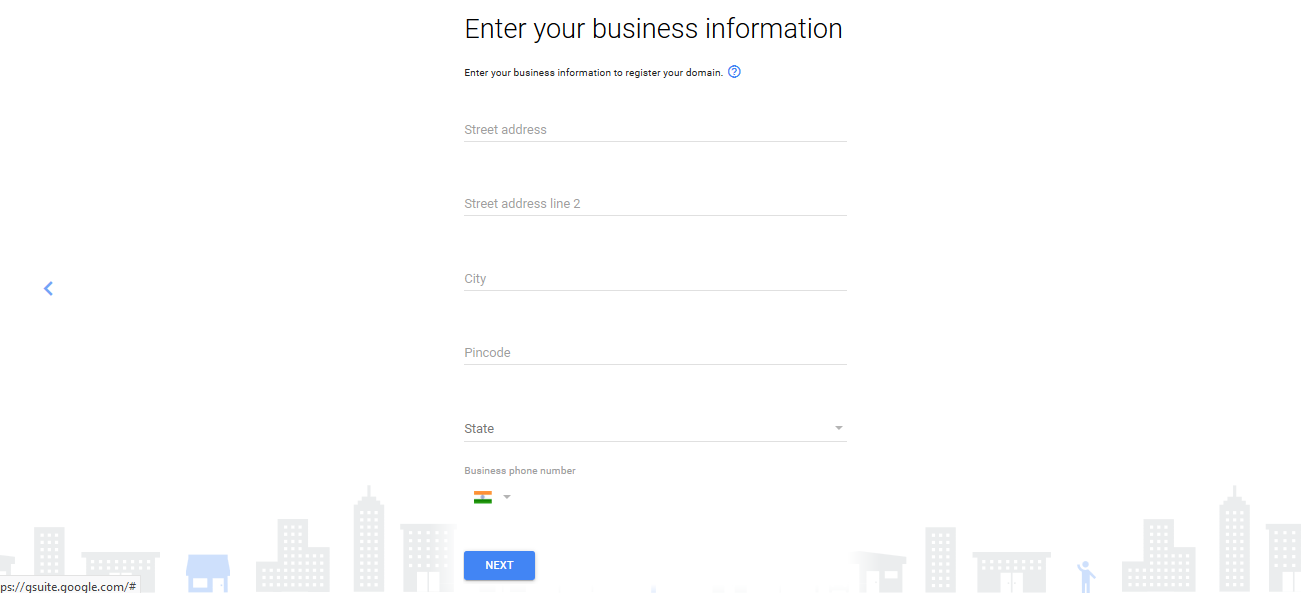
- Provide your business address. Click Next.
- Select the domain that best suites your business needs.
- Select the domain and review the price and click Next.
- Provide your business information. Click Next.
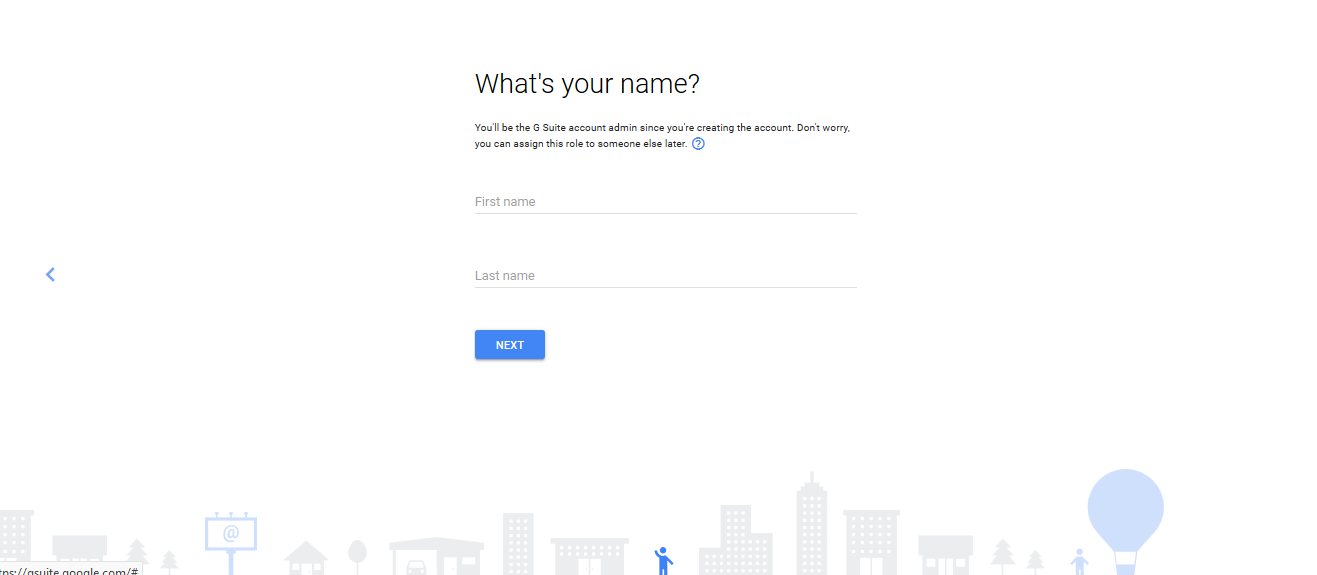
- Enter your First Name and Last Name. Click Next.
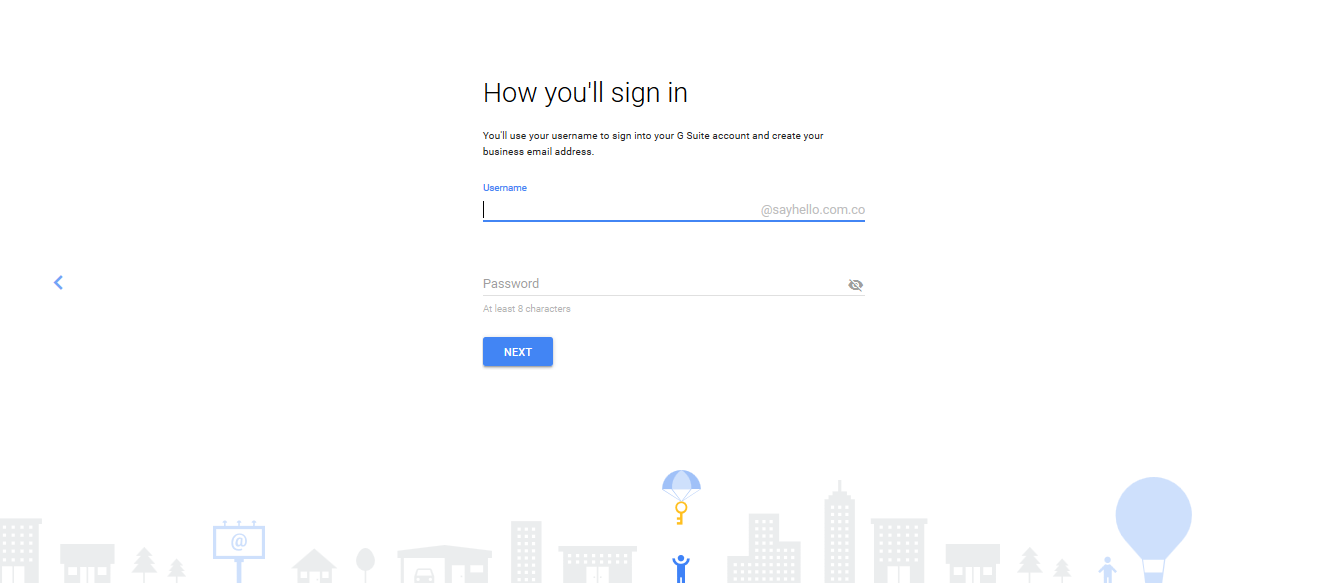
- Enter username and password. This username will be used for sign into your
GSuite Account and create your business email address. Click Next.
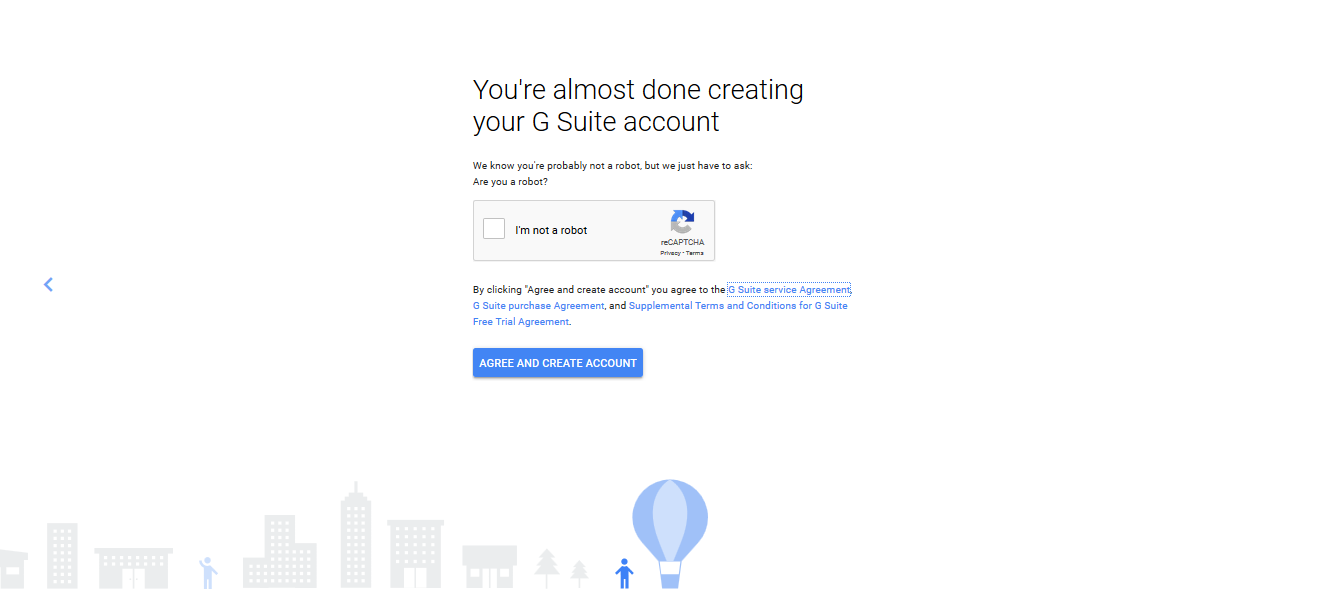
- Click Agree and Create Account to accept the Terms and Conditions.
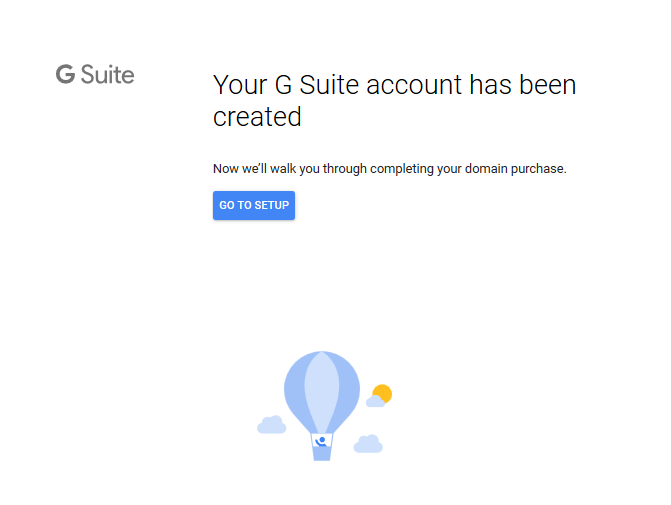
- Click Go To Setup.
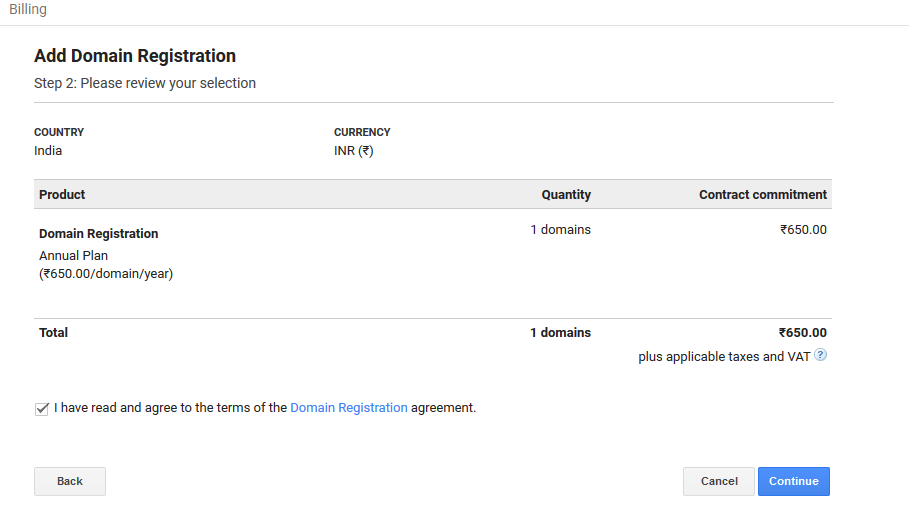
- The Billing information related to the domain that you have purchased will be
displayed. Agree to the Terms and Conditions and click Continue.
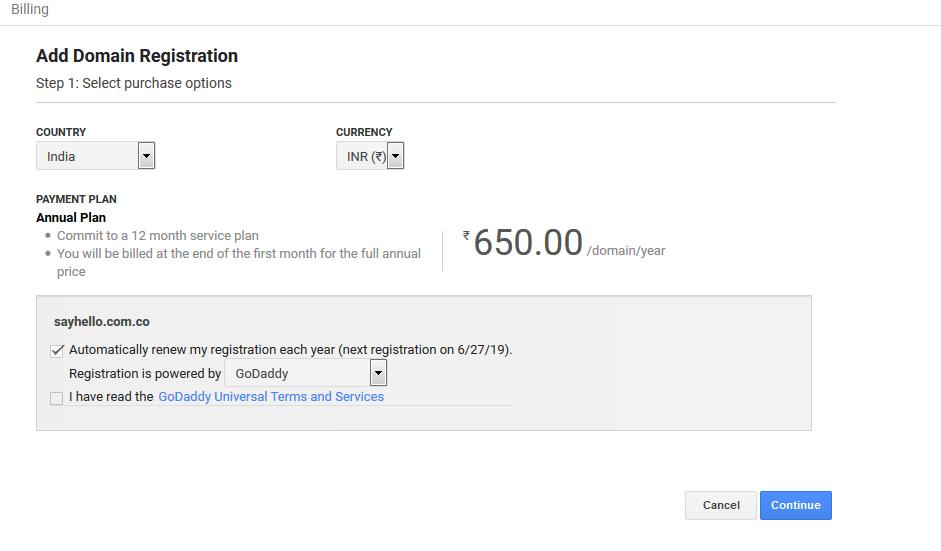
- Agree to Domain Registration Terms and Conditions and click Continue.
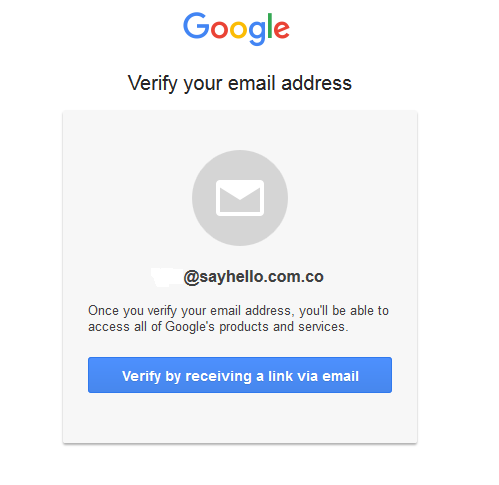
- Now that the domain name is created, its time to authenticate your GSuite Account with Google Cloud Console.
- Click Google Cloud Console, to verify your email address.
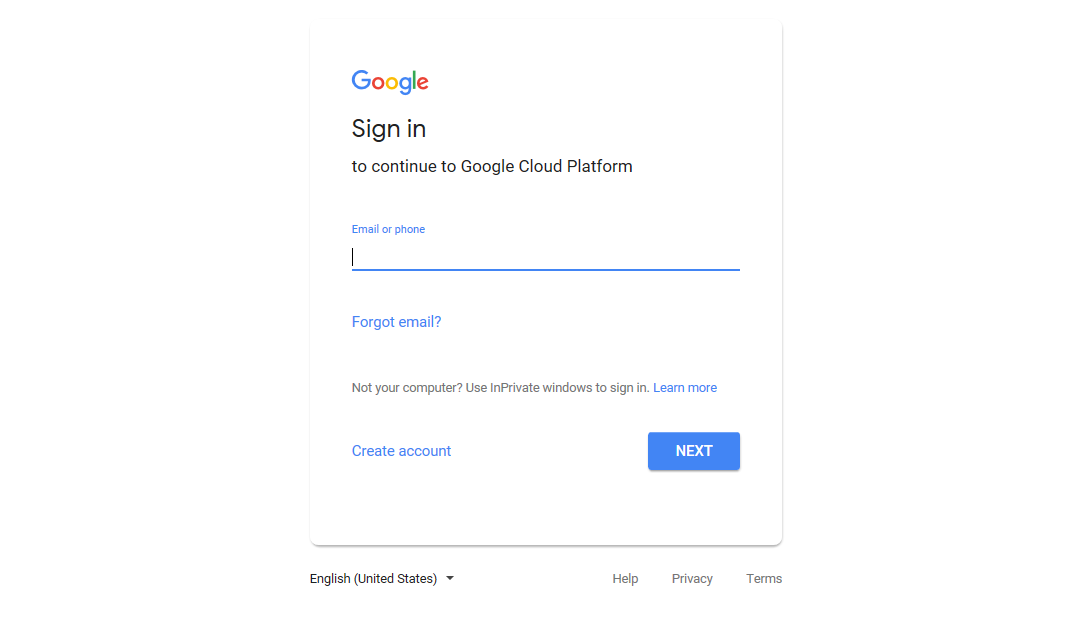
- Login to Google Cloud Console, using your GSuite Account username and password and accept the Terms and Conditions.
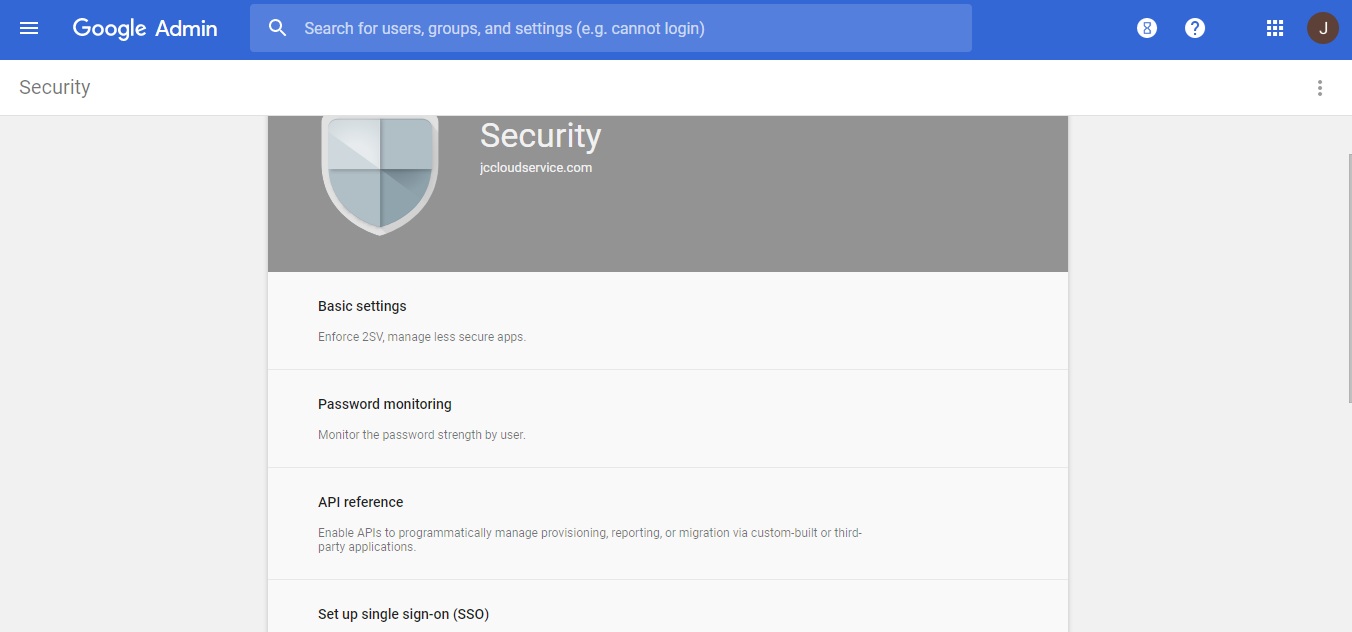
- Now, navigate back to your GSuite Account (https://admin.google.com) and login using your GSuite credentials,
click Security. The Security page is displayed.
- Click Setup Single Sign-On (SSO) to authenticate your appliance account.
- Enable Setup SSO with third party identity provider by checking on to
Setup SSO with third party identity provider check-box.
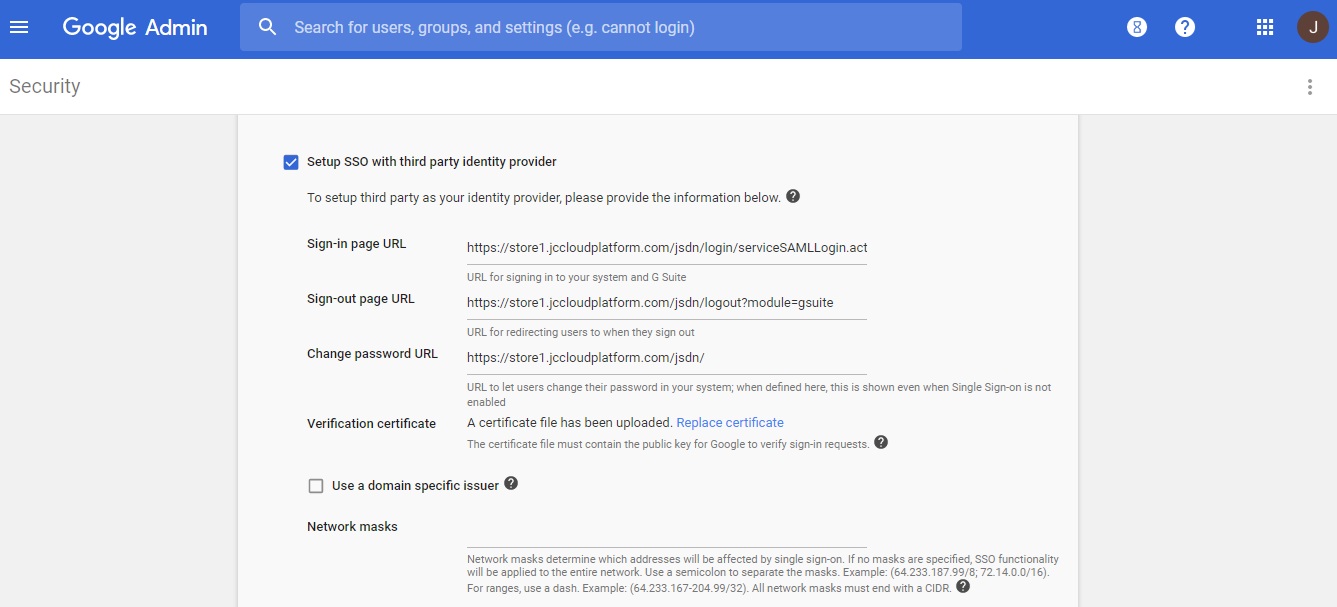
- Enter your Sign-in page URL. The URL should be in "https://<<STORE_URL>>/jsdn/login/serviceSAMLLogin.action?module=gsuite" format, whereas <<STORE_URL>> should be your store url.
- Enter your Sign-out page URL. The URL should be in "https://<<STORE_URL>>/jsdn/logout?module=gsuite" format, whereas <<STORE_URL>> should be your store url.
- For the first time you need to generate a verification certificate. Click here to know how to generate a verification certificate. Once you generate the certificate Download .cer file from "<<JAVA_HOME>>/bin/keytool" and upload by clicking Replace Certificate link in GSuite Portal.
- Click Save. A Confirmation message is displayed. Click I understand and agree.
Now your GSuite Account is ready, you can start using it.
GSuite Management via Jamcracker Platform:Jamcracker Platform allows performing various management activities in order to manage G Suite and other services via a single platform such as
User management:
1. New users can be added to avail G Suite account via Jamcracker platform.
2. Existing users available on G Suite application should be manually mapped for user management in the platform.
3. Unassign User: Admin shall have the ability to unassign existing users from using the G Suite services using the Jamcracker Cloud Management platform. Users can also be deleted from using G Suite and eventually the user will not be able to access services directly from G Suite console.
Single Sign On: Once the profile / order has been successfully provisioned to the customer organization within the platform, the administrator will be able to assign G Suite licenses to existing users by creating the user account. For new users, assign service activity will take care of license assignment to the user as well. All users created and assigned with G Suite service will have the ability to SSO to G Suite application.
Billing: Billing of G suite services is not supported for enterprise accounts as Google invoices and collects payments from the enterprise account directly through the G suite account. Billing will be supported for accounts under the partner program (Roadmap).
Payment: The G Suite account shall be automatically charged based on the Credit Card configured by the enterprise organization within the G Suite portal.