Google Cloud Account Settings
To setup Google Cloud Platform (GCP) for Jamcracker Appliance, you must have your Google Cloud Platform account which is a mandatory requirement and GSuite Domain which is optional. However it is required only while performing Single Sign-On.
If you already have an account, login to Google Cloud Console using your user credentials, and if you don't have an account, we recommend you to create GSuite domain and Google Cloud Platform.
To create a Google Cloud Platform account, you may have to create a Gmail account first and then setup a Google Cloud account using your newly created Gmail account. Please follow the steps as displayed on the UI to create a Gmail account.
For existing users:
- Login to Google Cloud Console.
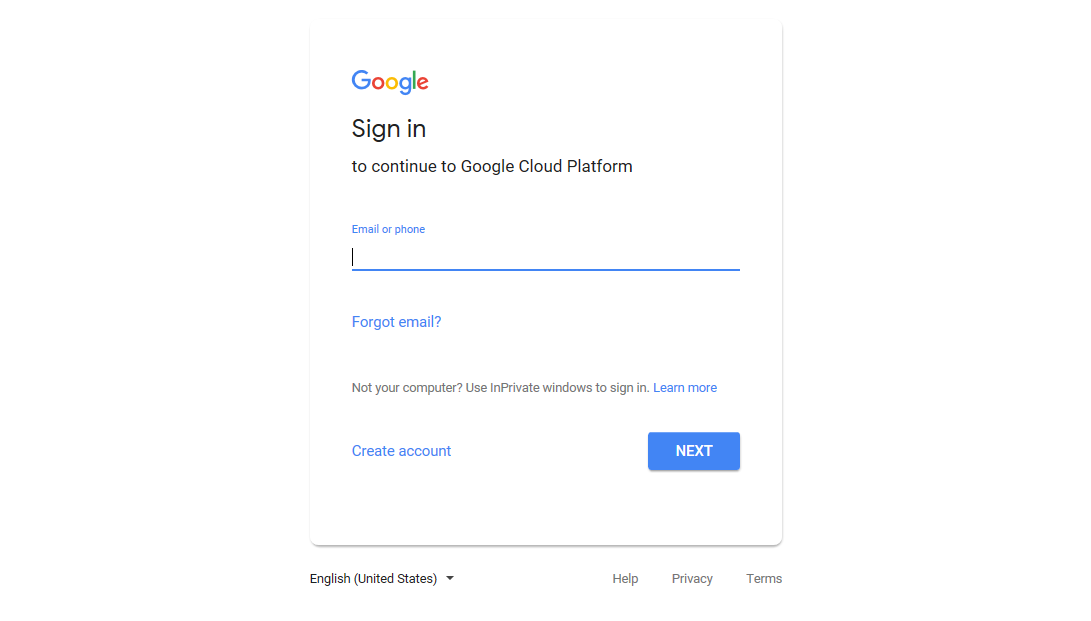
- Enter your user name.

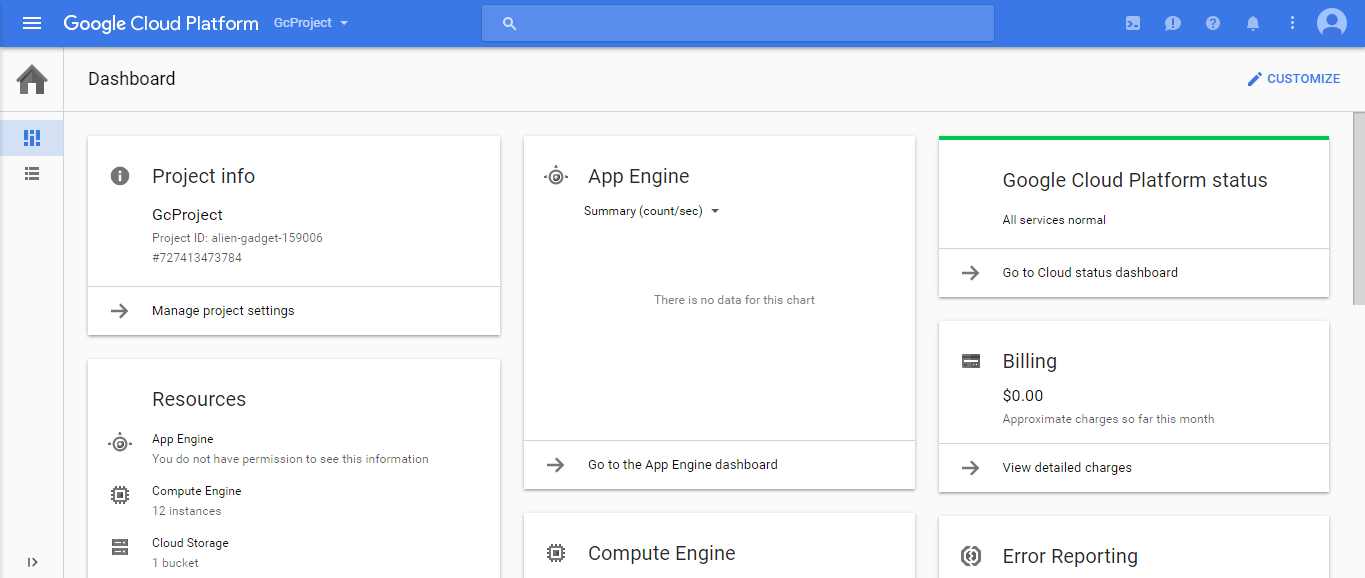
- Enter your password. You will be redirected to Google Cloud Platform dashboard page.
Setting Up Domain in GSuite
In this section, we will take you through a step by step process to create a domain using your GSuite account and also explains you on how to enable Single Sign On in Jamcracker Appliance.
- Login to your GSuite Admin Console.

- If you are an existing GSuite account holder, click the Sign in link and
enter your domain and select the Access to (Admin Console, Email or Drive) and
Click Go.
OR
- If you don't have an account, click Get Started and click Next.

- Enter your Business Name and select number of employees in your
organization. Click Next.

- Select your country. Click Next.

- Enter your email address. Click Next.

- If you already have a domain, click Yes, I Have One I Can Use. Enter the
domain name and click Next.

OR
- If you don't have a domain, click No, I Need One.
- Enter a domain name of your choice. If you want to check whether the domain name
is available or not, click Search. If the domain name is available, click
Next.

- Provide your business address. Click Next.

- Select the domain that best suites your business needs.

- Select the domain and review the price and click Next.

- Provide your business information. Click Next.

- Enter your First Name and Last Name. Click Next.

- Enter username and password. This username will be used for sign into your
GSuite Account and create your business email address. Click Next.

- Click Agree and Create Account to accept the Terms and Conditions.

- Click Go To Setup.

- The Billing information related to the domain that you have purchased will be
displayed. Agree to the Terms and Conditions and click Continue.

- Agree to Domain Registration Terms and Conditions and click Continue.

- Now that the domain name is created, its time to authenticate your GSuite Account with Google Cloud Console.
- Click Google Cloud Console, to verify your email address.

- Login to Google Cloud Console, using your GSuite Account username and password and accept the Terms and Conditions.
- Now, navigate back to your GSuite Account (https://admin.google.com) and login using your GSuite credentials,
click Security. The Security page is displayed.
- Click Setup Single Sign-On (SSO) to authenticate your appliance account.

- Enable Setup SSO with third party identity provider by checking on to
Setup SSO with third party identity provider check-box.

- Enter your Sign-in page URL. The URL should be in "https://<<STORE_URL>>/jsdn/login/serviceSAMLLogin.action?module=gsuite" format, whereas <<STORE_URL>> should be your store url.
- Enter your Sign-out page URL. The URL should be in "https://<<STORE_URL>>/jsdn/logout?module=gsuite" format, whereas <<STORE_URL>> should be your store url.
- For the first time you need to generate a verification certificate. Click here to know how to generate a verification certificate. Once you generate the certificate Download .cer file from "<<JAVA_HOME>>/bin/keytool" and upload by clicking Replace Certificate link in GSuite Portal.
- Click Save. A Confirmation message is displayed. Click I understand and agree.
Now your GSuite Account is ready, you can start using it.
GSuite Management via Jamcracker Platform:Jamcracker Platform allows performing various management activities in order to manage G Suite and other services via a single platform such as
User management:
1. New users can be added to avail G Suite account via Jamcracker platform.
2. Existing users available on G Suite application should be manually mapped for user management in the platform.
3. Unassign User: Admin shall have the ability to unassign existing users from using the G Suite services using the Jamcracker Cloud Management platform. Users can also be deleted from using G Suite and eventually the user will not be able to access services directly from G Suite console.
Single Sign On: Once the profile / order has been successfully provisioned to the customer organization within the platform, the administrator will be able to assign G Suite licenses to existing users by creating the user account. For new users, assign service activity will take care of license assignment to the user as well. All users created and assigned with G Suite service will have the ability to SSO to G Suite application.
Billing: Billing of G suite services is not supported for enterprise accounts as Google invoices and collects payments from the enterprise account directly through the G suite account. Billing will be supported for accounts under the partner program (Roadmap).
Payment: The G Suite account shall be automatically charged based on the Credit Card configured by the enterprise organization within the G Suite portal.
Account Mapping
Login to Google Cloud Console to collect information such as Paying Account Id, Project Id, Service Account Id, Bucket Name, Private Key file path, Usage File Prefix, and Username. These information will be useful for your while configuring your Cloud Credentials in Jamcracker Appliance. Follow the below steps to know how to collect the required information and add them to Add Cloud Credentials page.
- Launch Google Cloud Console and login to the Google Cloud
console using your credentials.
 Note: If you already have an existing project. We recommend you to copy the Project ID, which will be useful while mapping your cloud credentials.
 - (a). Click Select a Project to create a new
project.

(b). Click New Project.

(c). Provide a name for the project and use the default location.

(d). Click Create. The project is created successfully.
Note: A default project ID is allocated to your new project. In case you want to change the project Id, click on Edit and Add New Project ID.
- (a). Select the Project and navigate to Menu > APIs & Services >
Dashboard page and click Enable APIs and Services.

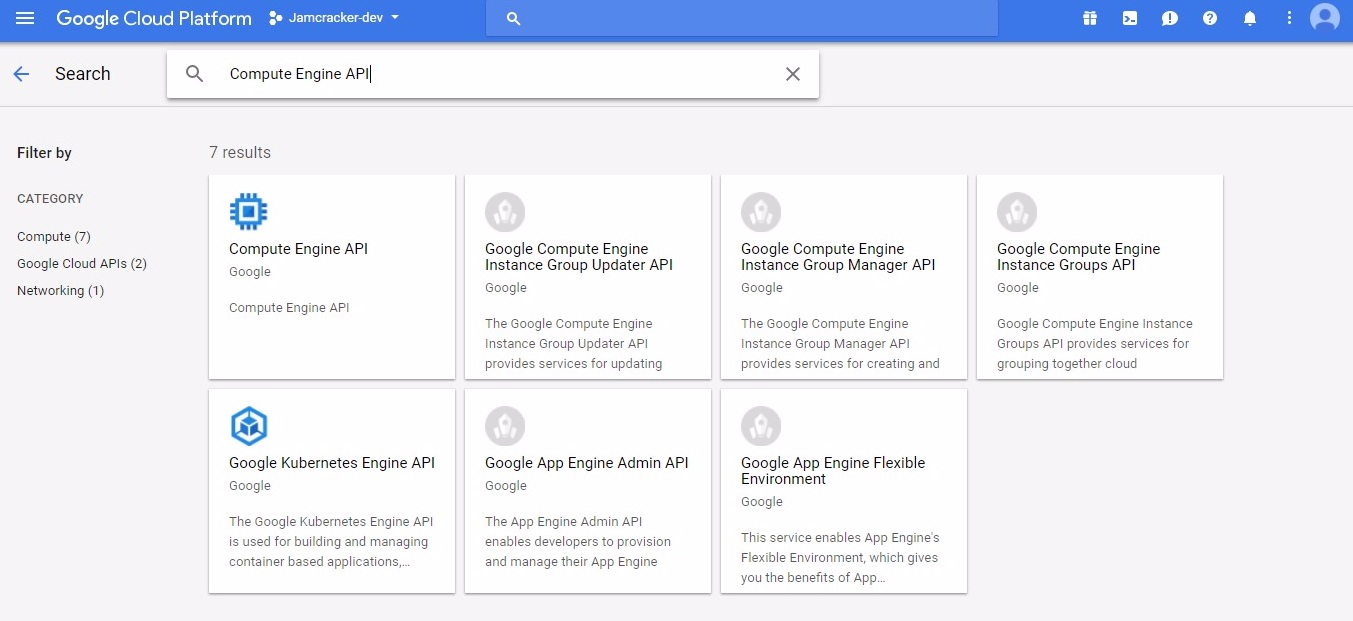
(b). Ensure you enable the below two services. If these two services are not enabled, then search for "Compute Engine API" and "Google Cloud Storage" and click Enable respectively.
- Compute Engine API
- Google Cloud Storage

(c). Click Enable APIS AND SERVICES. You will be re-directed to API Library page, search for "Compute Engine API" and "Google Cloud Storage" services and click Enable respectively.
- Now, you have to Create a Service Account. To create a Service Account, select
the project and navigate to Menu > IAM & admin > Service
accounts page.

- (a) Click Create Service Account. You must provide a
unique Service account name and select the role as Project > Owner
and click Create. However, before you click Create. Please ensure
you enable Furnish a new private key check-box and select the Key Type
as P12. Make note of “Service Account ID” for future use.

(b). Now, that you have created a P12 Key type, you have to create a JSON Key Type. Navigate to Menu > IAM & admin > Service accounts page. Identify the Service account and click Create Key from the Options column.

(c). Select JSON as your Key Type. Click Create.

Existing Bucket Mapping
- (a). If you are adding a new project and want to map it to
your existing bucket, then you must provide permissions for storage. To provide
permissions, navigate to Menu > Storage page and select the Project
from the drop-down list.

(b). Select the Bucket and click Edit Bucket Permissions.

(c). On the Edit Bucket Permissions page. In the Add Member field, provide the Service Account Id (to get the Service Account ID, navigate to Menu > IAM & admin > Service accounts page, identify the service account and you will find the Service Account ID against it) of new project and select Storage Admin from the Role drop-down list and click Add.

New Bucket Mapping
If you don't have an existing bucket, follow the steps below to create a new one.
- (a). In menu option, Click Storage > Create
Bucket.

(b). Provide a unique bucket name, select the default storage class and select the location.

(c). Click Create.
- (a). In the menu option select Billing > Billing Export > File Export >
Enable BillingExport and select the bucket you had created in the
previous step.
(b). Add proper prefix to the selected bucket and select file format as CSV.
(c). Make note of bucket name, report prefix.

(d). Click Save.
- On the Menu, navigate to Billing > Billing Account
ID page and make note of billing account Id.

- To capture your Domain Name and SAML Name ID, login to GSuite Admin Console using your domain name or username and password.
- Navigate to Menu > Domains page, and make note of your domain name, which will be useful while mapping your account with Jamcracker Appliance.
- Navigate to Menu > Users page, and click on your account. You will find your username (which is your email ID in other words your SAML Name ID), make note of your email Id, which will be useful while mapping your account with Jamcracker Appliance.
- Now that you have all the required information, login to Jamcracker Appliance to map your account.
- Navigate to Manage > Cloud Service Credentials page. On the Cloud
Credentials page, click Add Cloud Service Credentials.

The following table explains the configuration settings fields for Google Cloud Platform.
| Fields | Value |
|---|---|
| Cloud Provider | Select the "GoogleCloud" cloud provider from the drop-down list. |
| Account ID | Type your account ID as your billing account ID. Refer to Step 9. |
| Project ID | Type the Project ID that was allocated to you while creating a new project in Google Cloud. Refer to Step 2. |
| Service Account ID | Type the Service Account ID that is associated with your Google Cloud account. Refer to Step 5 (a). |
| Bucket Name | Type the bucket name, which you have create in Step 7 (a) for new and Step 6 (a) for existing bucket. |
| Upload Private Key Path | Upload P12 Extension file, which you have create and downloaded as part of Step 5 (a). |
| Usage File Prefix | Type the usage file prefix. This will enable you for billing. Refer to Step 8 (b). |
| JSON Private Key File Content | Copy JSON content of the file, which you have created and downloaded as part of Step 5 (b). |
| SAML Domain Name | Enter the Domain name. Refer to Step 11. This field is optional for you. However, if you want to perform SSO, then you must provide your SAML Domain name. |
| SAML Name ID | Enter the SAML Name ID. Refer to Step 10. This field is optional for you. However, if you want to perform SSO, then you must provide your SAML Name ID. |
| Username | Enter your username. The username is the login ID of your Google Cloud console. Refer to Step 12. |
Once you are done with adding the cloud service credentials, refer Step 7 of Adding Cloud Service Credentials.
- You might have provided wrong credentials.
- Latency in data processing.
- If JobServer is down.
- Unexpected special characters in the processing file.