OpenStack Account Settings
In this section, we take you through the steps you have to perform while mapping your private cloud account with Jamcracker Appliance.
To map your private OpenStack account with Jamcracker Appliance, you must have the following information handy.
- Paying Account Type
- Paying Account ID
- User Credentials
Note: If you don't have the above required information with you, contact your
operations/network team for the same.
Note: We assume that you have already
configured private OpenStack.
Perform the following steps to map your private OpenStack account with Jamcracker Appliance.
- Login to Jamcracker Appliance using your credentials.
- Navigate to Administrator > Member Management page.
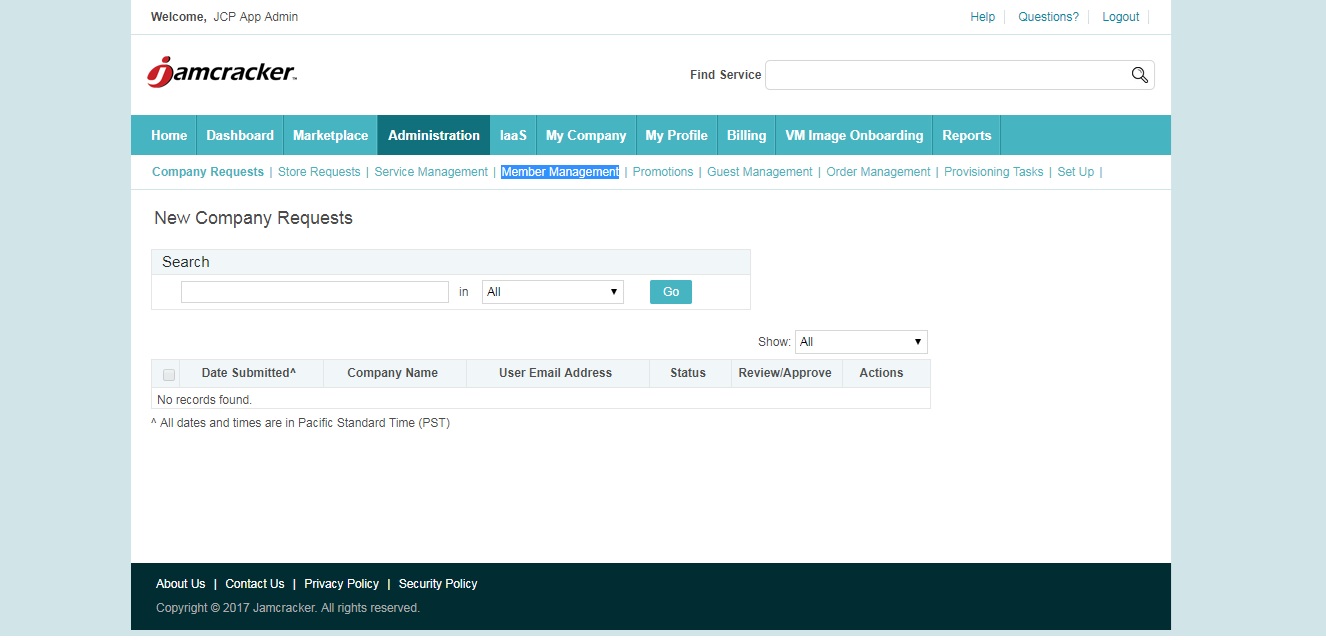
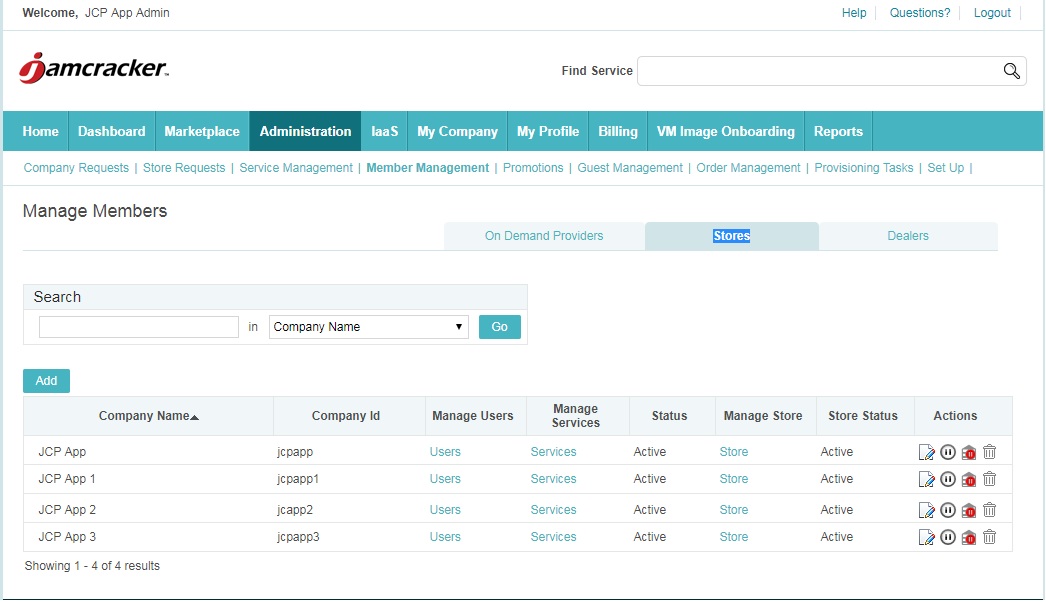
- Click Stores tab, and proxy into the store account.
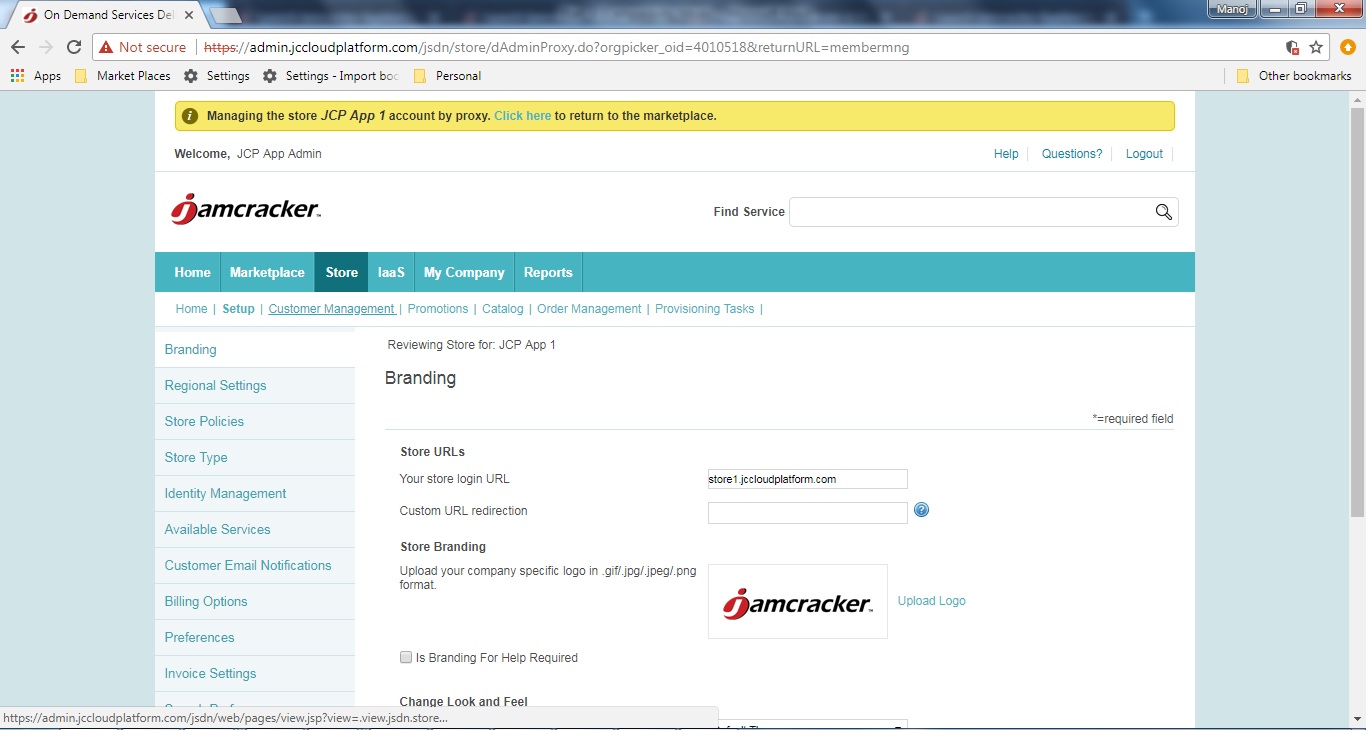
- On the Store url, navigate to Store > Customer Management page and proxy
into the Customer account.
- Now, navigate to Manage > Cloud Service Credentials page.
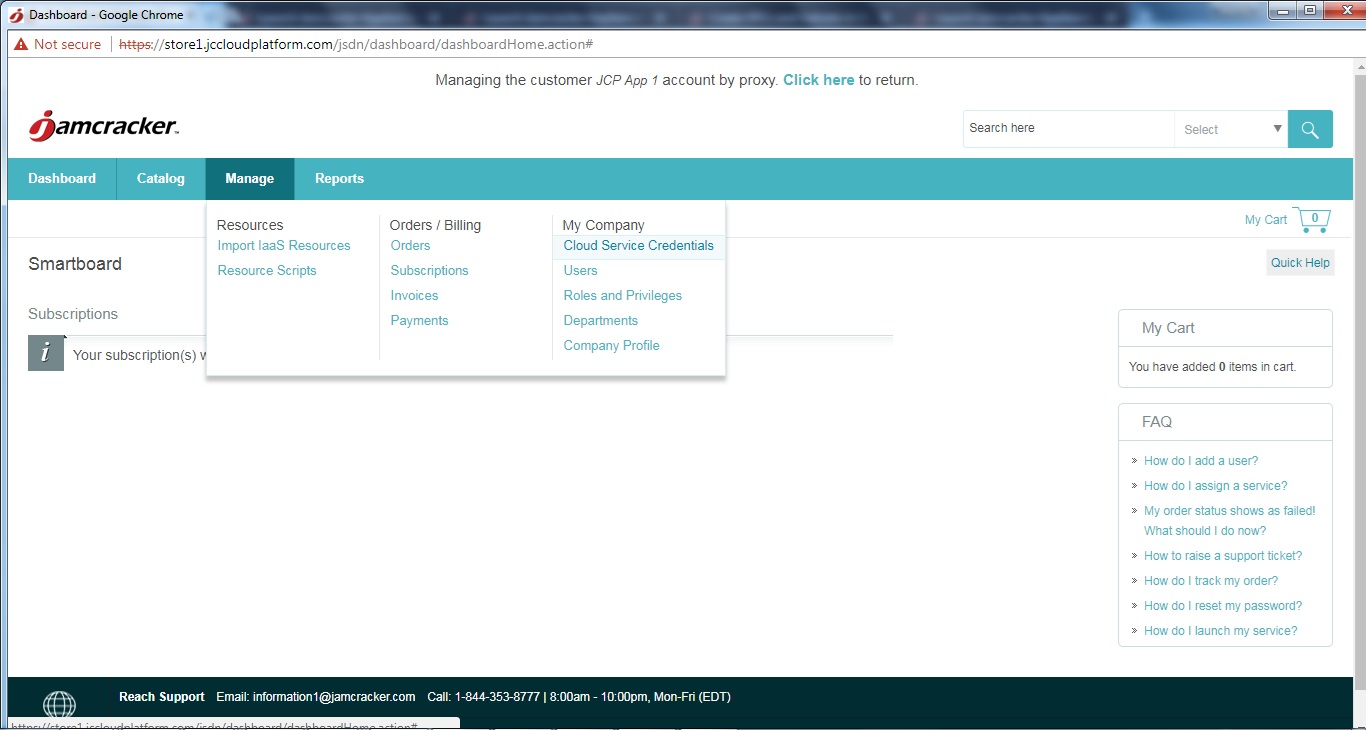
- On the Cloud Service Credentials page, click Add Cloud Service
Credentials.
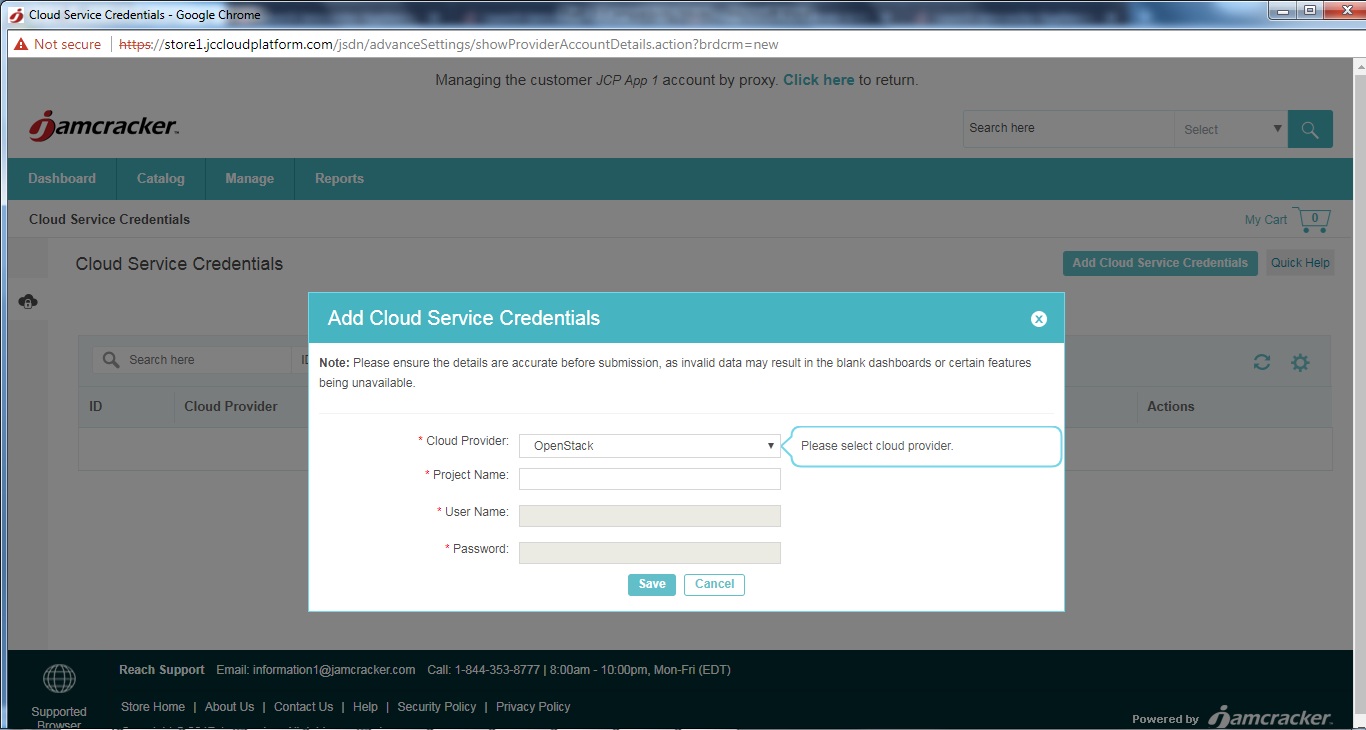
- Select privateopenstack as your Cloud Provider from the drop-down list.
- Select Provider Offer Code from the drop-down list. Note: Please note, if the provider has only one offer code, then the system will consider it as default offer code. You will not have an option to select. However, if the provider has multiple offer codes, then you must select one from the list.
- Select Paying as Account Type from the drop-down list.Note: Please note, if the provider has only one account type, then the system will consider it as default account type. You will not have an option to select. However, if the provider has multiple account types, then you must select one from the list.
- type your username and password.
- Click Save.