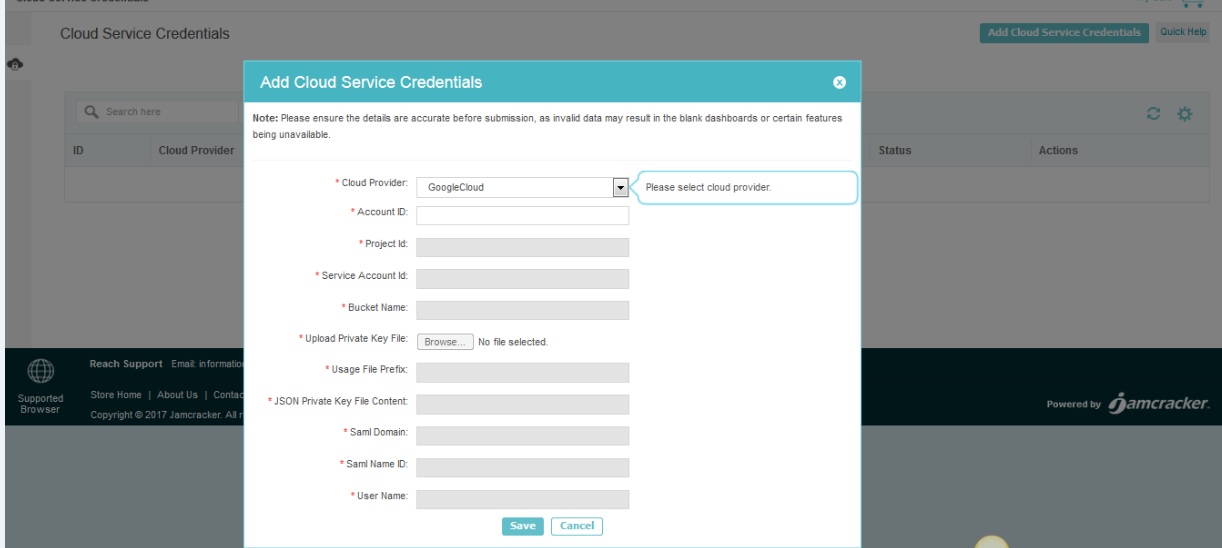
Google Cloud Account Settings
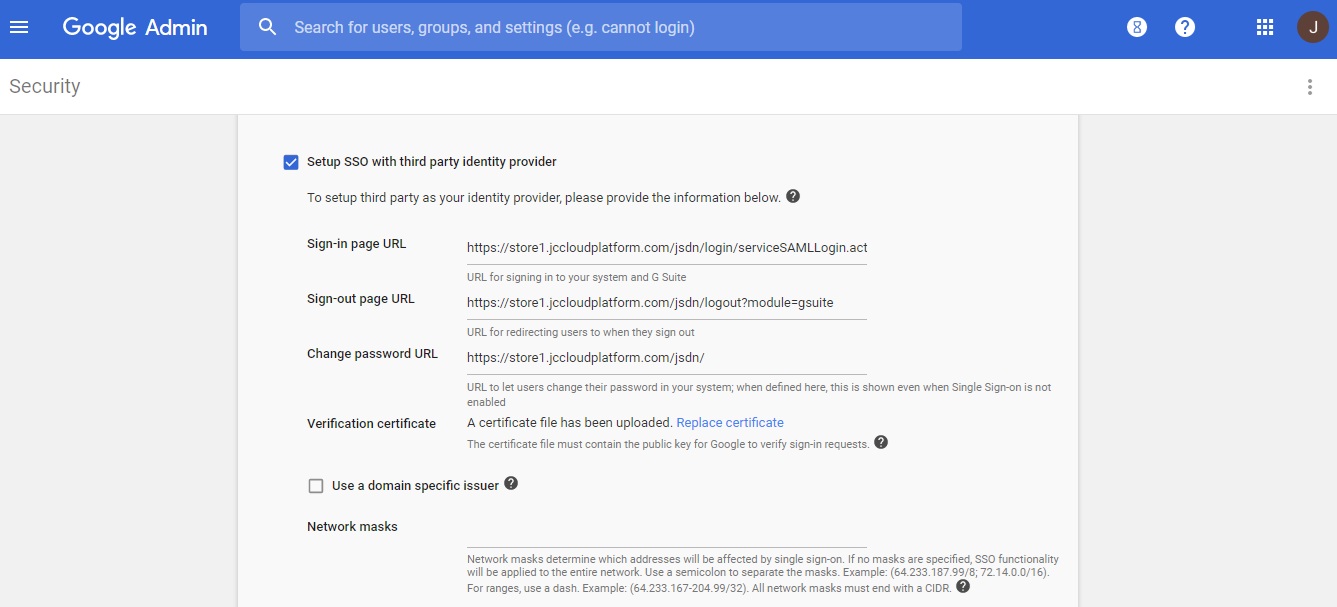
To setup Google Cloud Platform (GCP) for Jamcracker Appliance, you must have your Google Cloud Platform account which is a mandatory requirement and GSuite Domain which is optional. However it is required only while performing Single Sign-On.
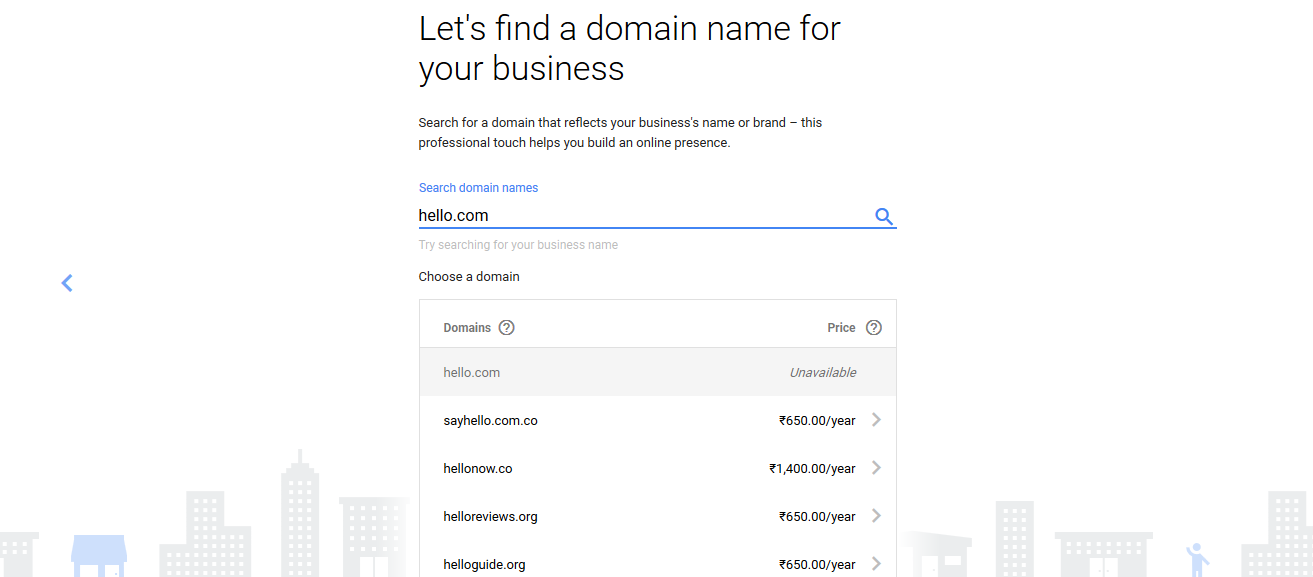
If you already have an account, login to Google Cloud Console using your user credentials, and if you don't have an account, we recommend you to create GSuite domain and Google Cloud Platform.
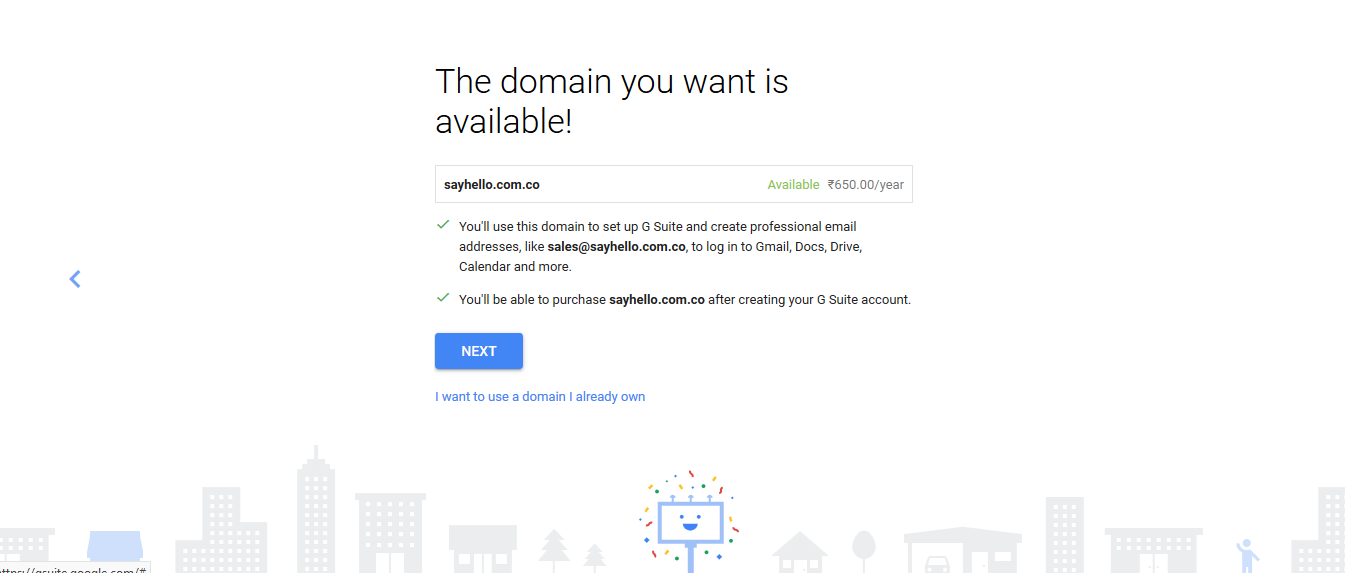
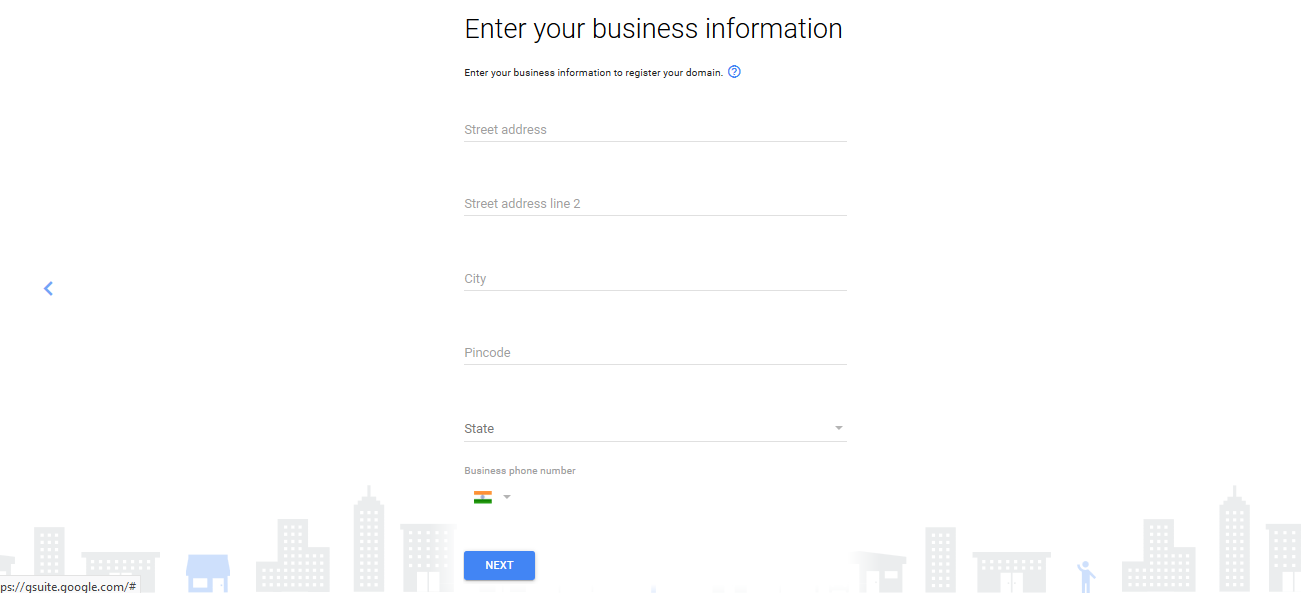
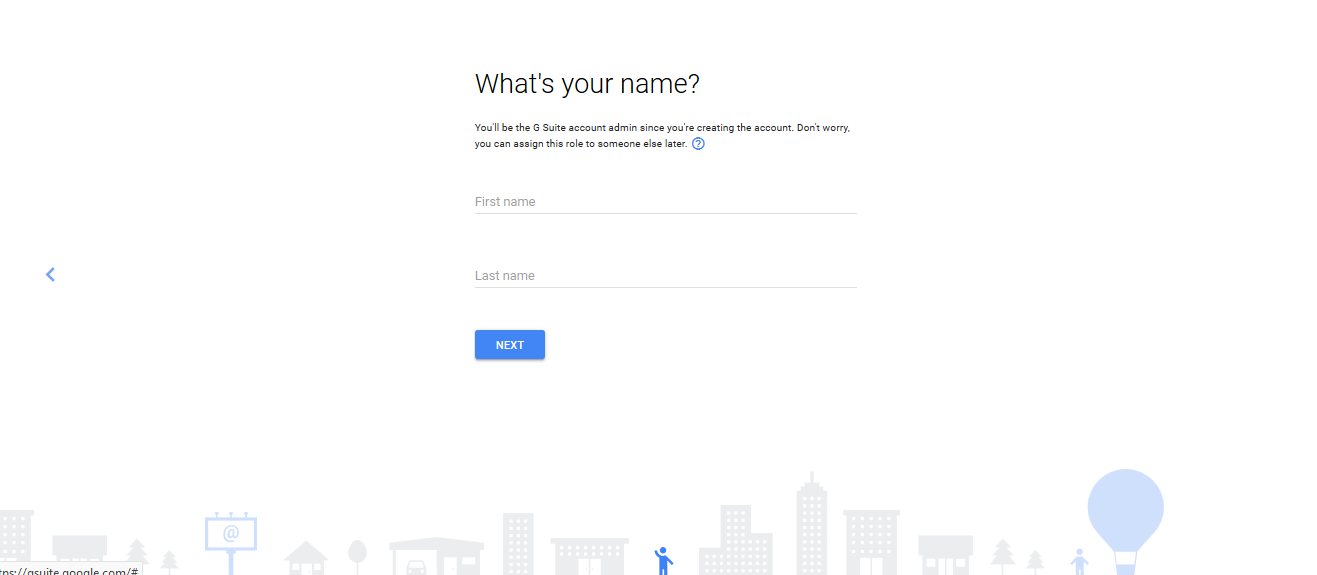
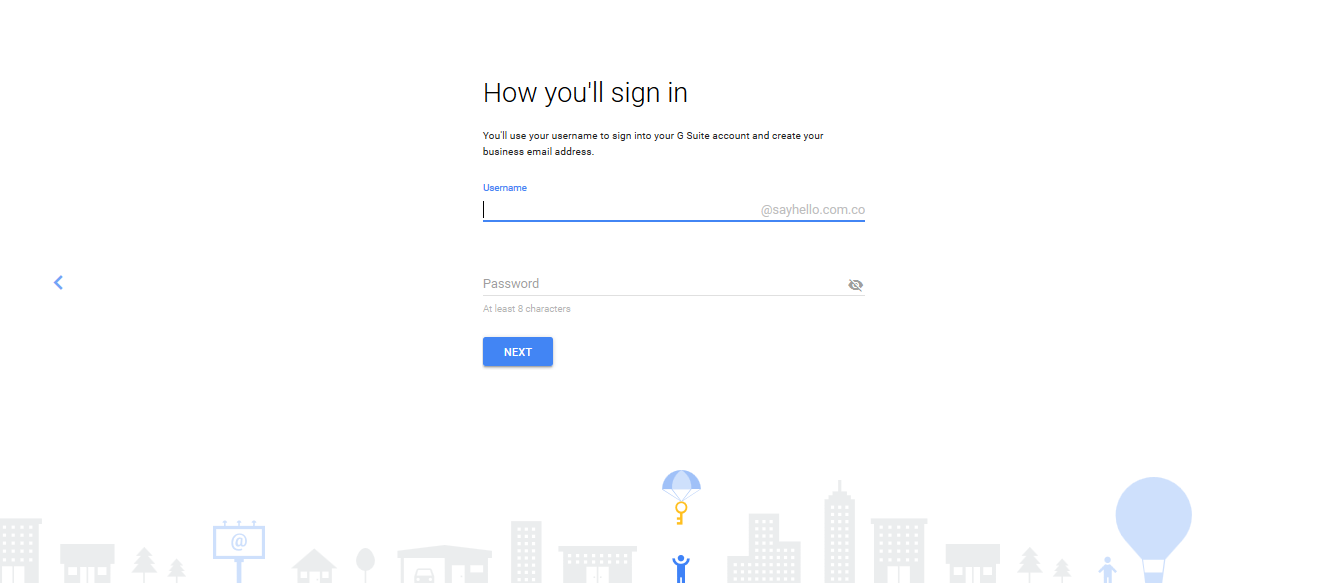
To create a Google Cloud Platform account, you may have to create a Gmail account first and then setup a Google Cloud account using your newly created Gmail account. Please follow the steps as displayed on the UI to create a Gmail account.
For New Users:
Pre-requisites:
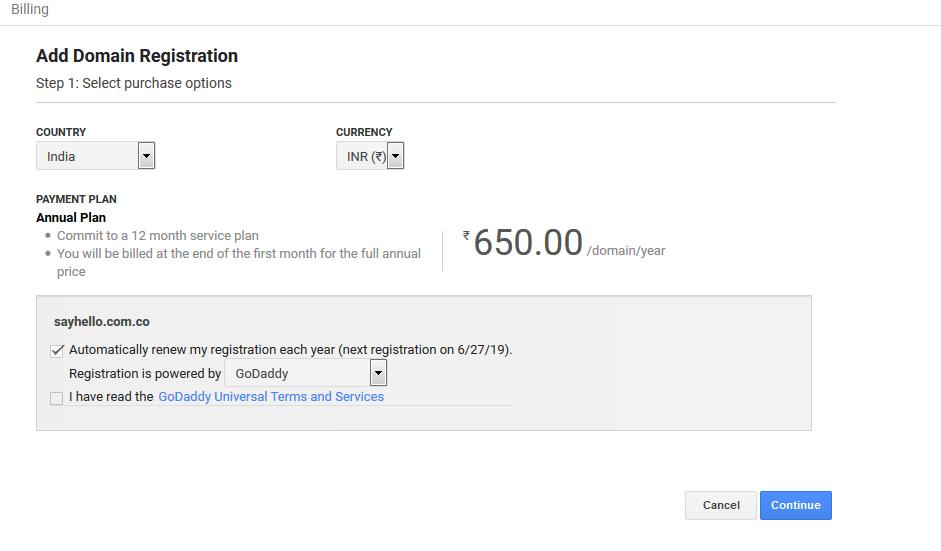
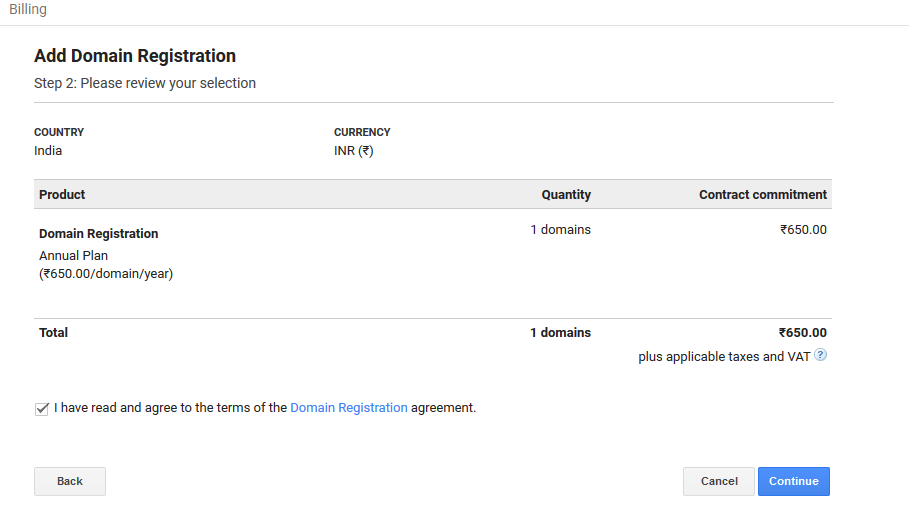
- You must setup billing account
Add an account for a new user:
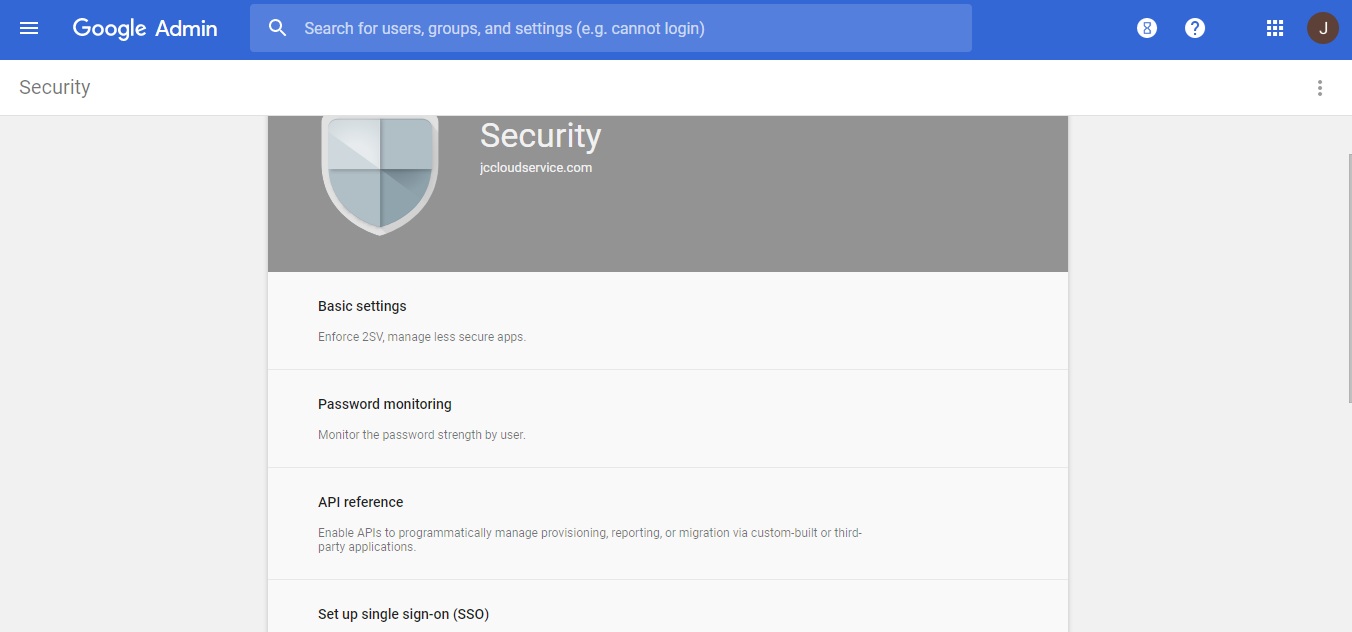
Each person who will be using Google services with in JSDN needs an account to sign in to. If you have access to an administrator (or admin) account, you can sign in to the Google Admin console. The Admin console is where administrators manage Google services for people in an organization.
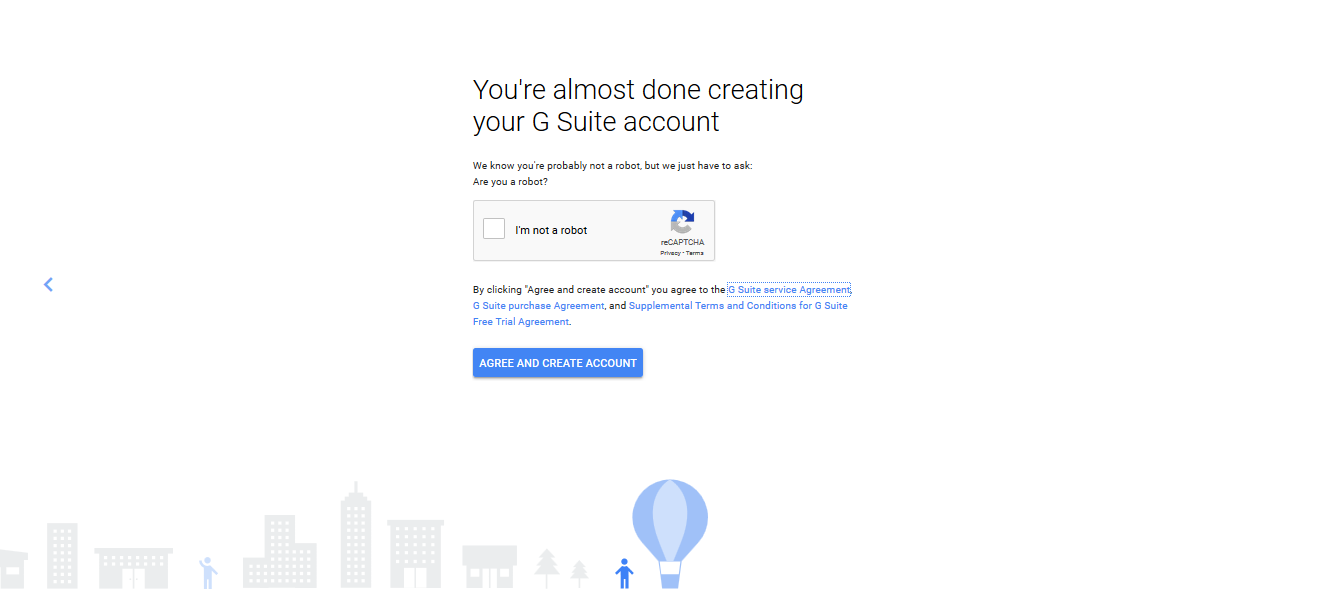
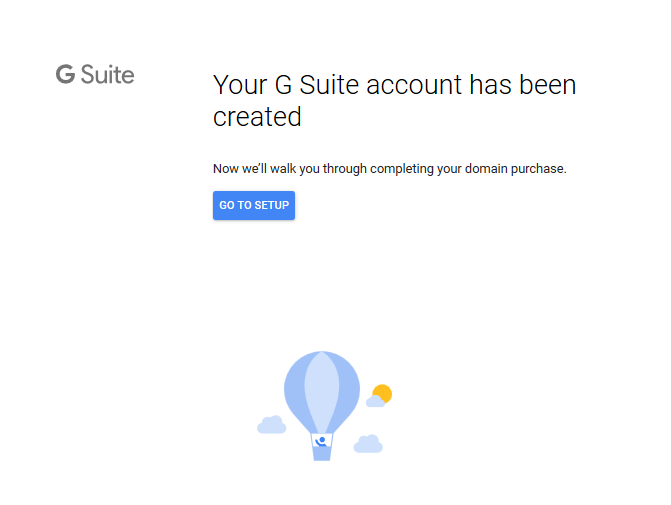
Signing Up
- In any web browser, go to cloud.google.com
- Click Get Started for free > Creat Account.
-
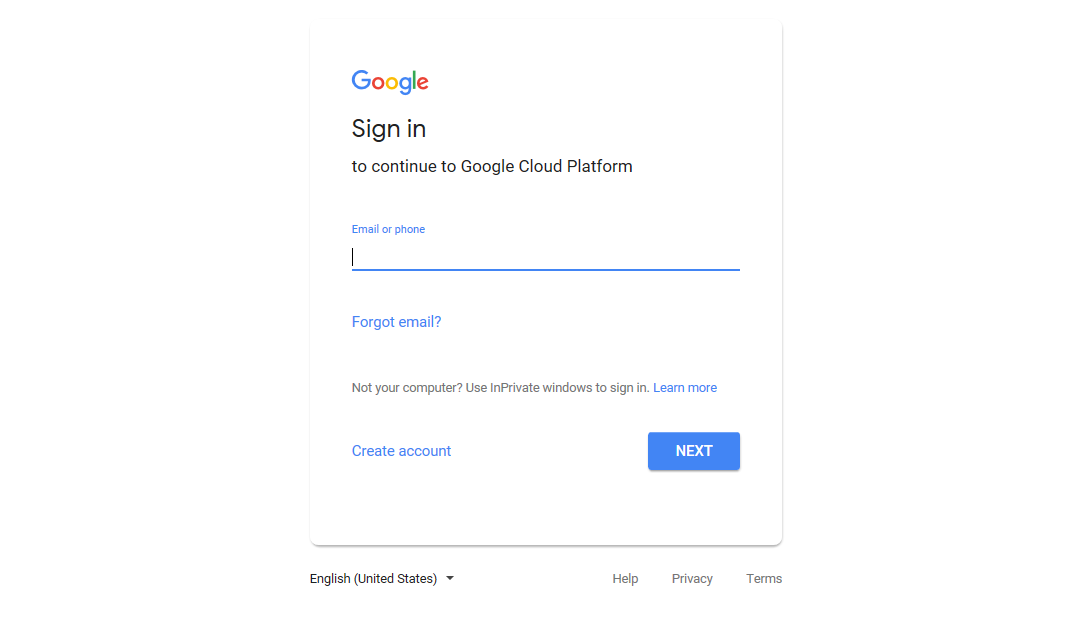
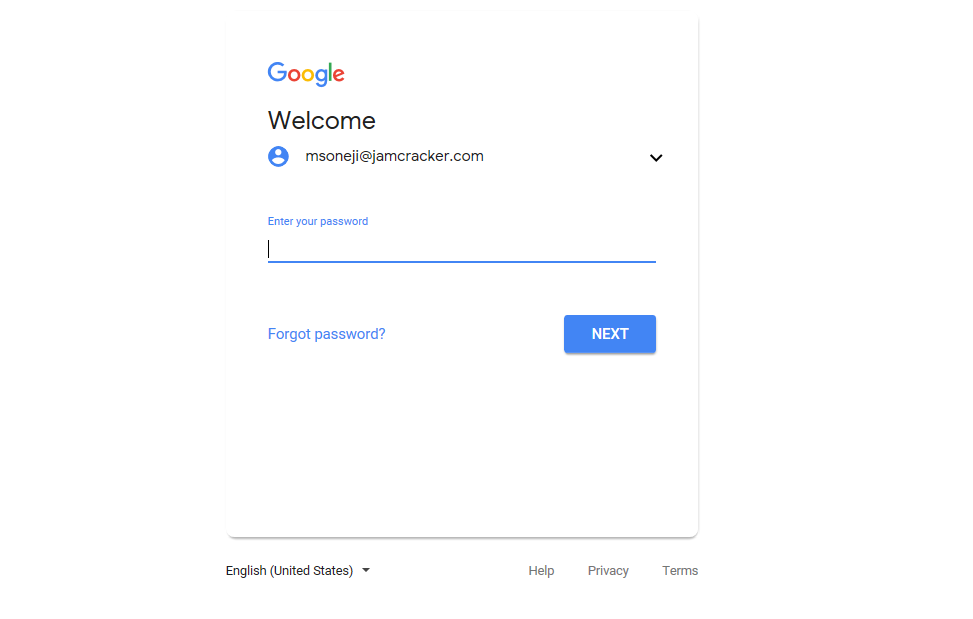
Starting from the sign-in page, enter the email address and password for your admin account (it does not end in @gmail.com).
-
An admin account has privileges to manage services for other people in your organization. The Admin console is only available when you're signed in to an admin account. If you don't have access to an admin account, get help from someone else who does.
-
If you see a list of Google Accounts on the sign-in page, be sure to choose your admin account (it does not end in @gmail.com).
-
Enabling an API
When an API requires an API key and the API is associated with a Google Cloud project that you don't have access to, you have the following options to obtain an API key:
- Option 1: Ask a member of the Google Cloud project to create an API key for you.
- Option 2: Ask a member of the Google Cloud project to grant you access to the project so that you can create an API key in the same project that the API is associated with.
- Option 3: Ask a member of the Google Cloud project to grant you access to enable the API in your own Google Cloud project so that you can create an API key.
If you used option 3 and asked someone to grant you access to enable the API, follow the steps below to enable the API in your own Google Cloud project.
To enable an API:
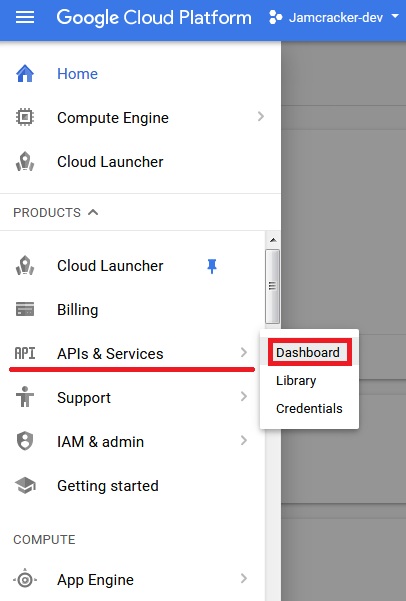
- In the Cloud Console, go to APIs & Services for your project.
- On the Library page, click Private APIs. If you don't see the API listed, that means you haven't been granted access to enable the API.
- Click the API you want to enable. If you need help finding the API, use the search field.
- In the page that displays information about the API, click Enable.
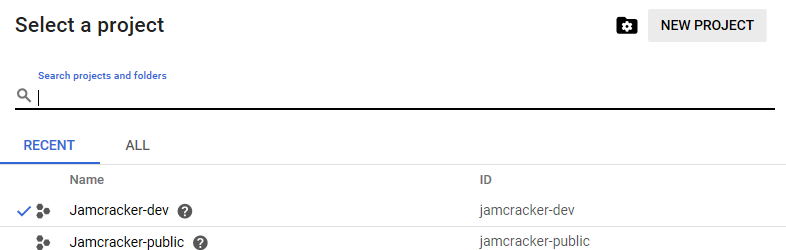
Creating a New Project
To create a project, you must have the permission. This permission is included in the Project Creator role, which is granted by default to the entire domain of a new organization and to free trial users.
To create a new project
- Go to the Manage resources (Home > Dashborad) page in the Cloud Console.
- On the Select organization drop-down list at the top of the page, select the organization in which you want to create a project. If you are a free trial user, skip this step, as this list does not appear.
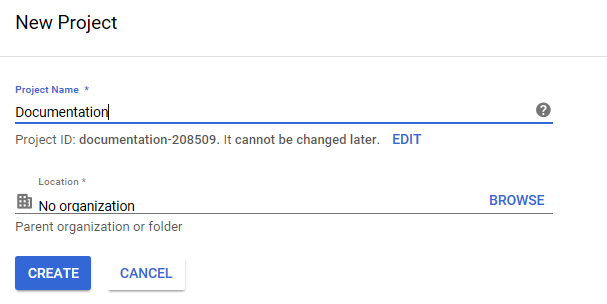
- Click Create Project.
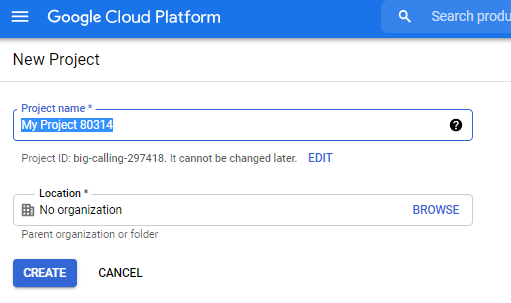
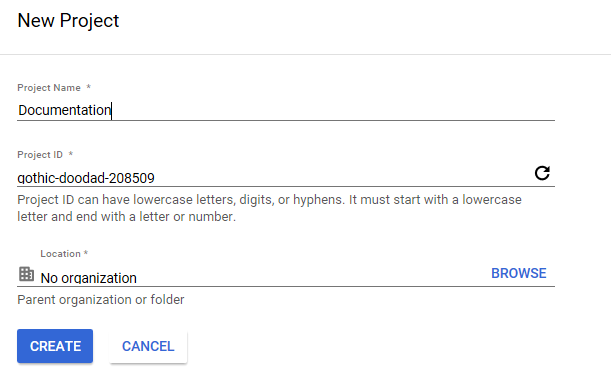
- In the New Project window that appears, enter a project name and select a billing account as applicable. A project name can contain only letters, numbers, single quotes, hyphens, spaces, or exclamation points, and must be between 4 and 30 characters.
- Enter the parent organization or folder in the Location box. That resource will be the hierarchical parent of the new project.
- When you're finished entering new project details, click Create.
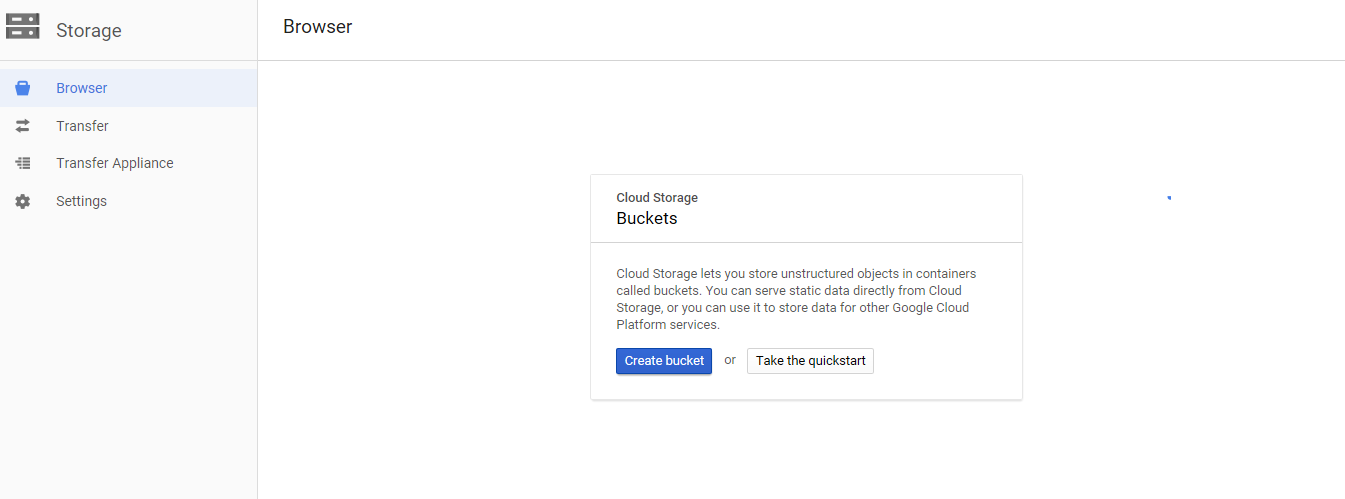
Creating Storage Buckets
In order to create a bucket in a project, a user must have the permission for the project.
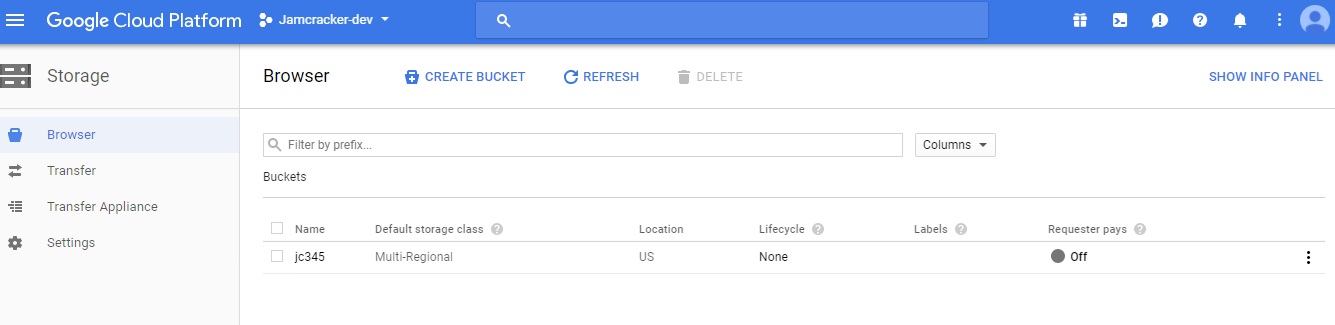
To create a new storage bucket:
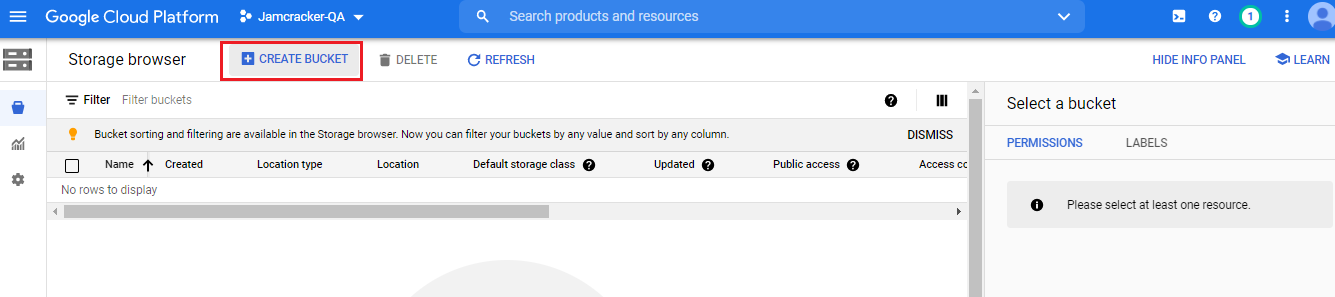
- Navigate to Storage > Browser in the Google Cloud Console.
- Click Create bucket to open the bucket creation form.
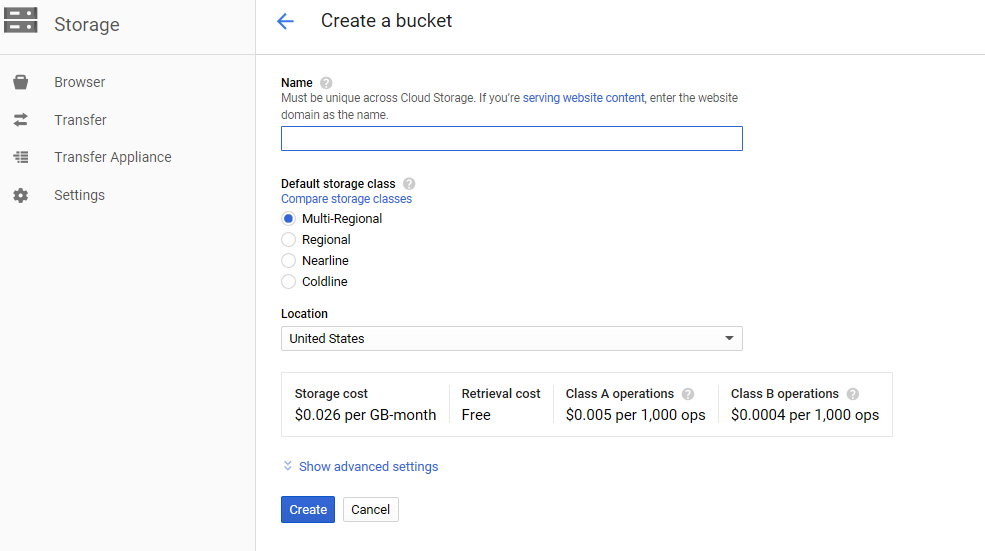
- Enter your bucket information and click Continue to complete each
step:
- Specify a Unique Name.
- Choose a Location where the bucket data will be stored.
- Choose a default storage class for your data.
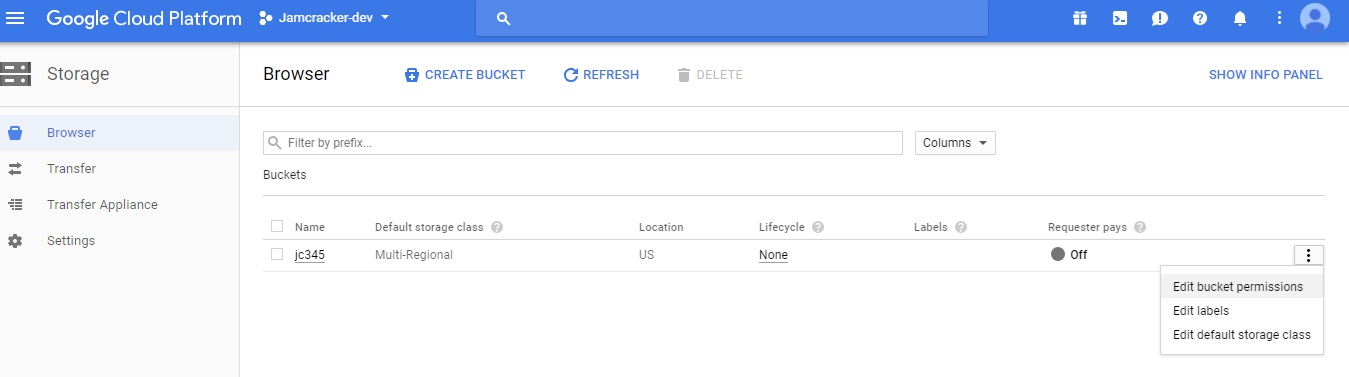
- Select an Access control model to determine how you control access to the bucket's objects.
- Optionally, you can add bucket labels, set a retention policy, and choose an encryption method.
Note: The Monthly cost estimate panel in the right pane estimates the bucket's monthly costs based on your selected storage class and location, as well as your expected data size and operations. - Click Done.
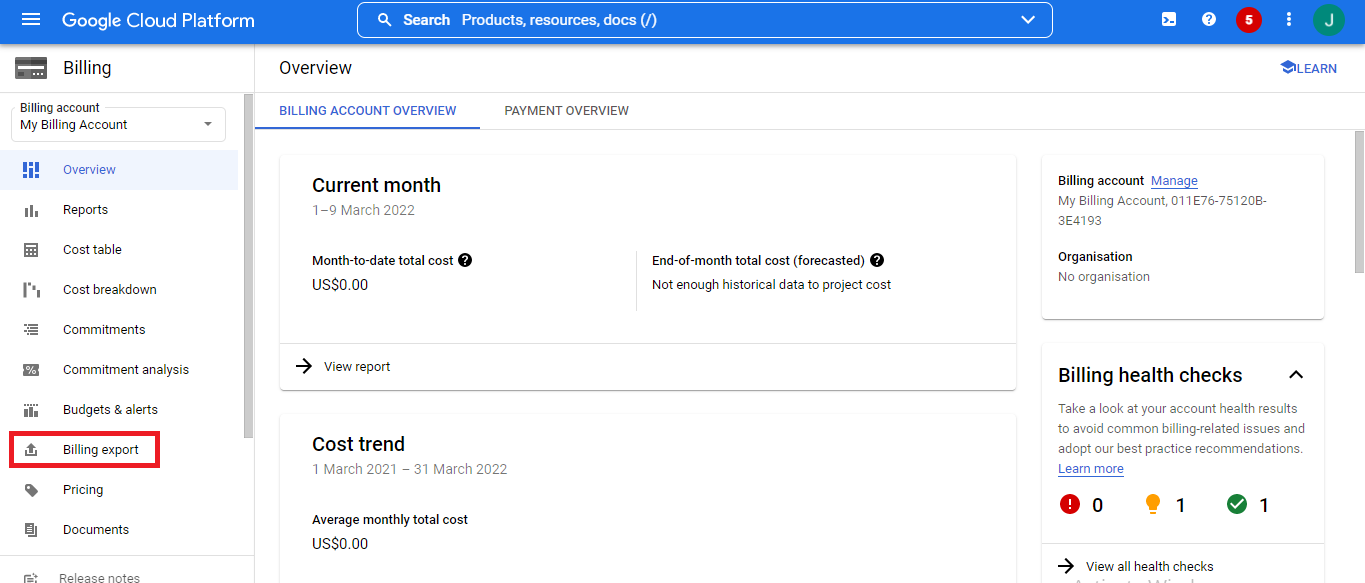
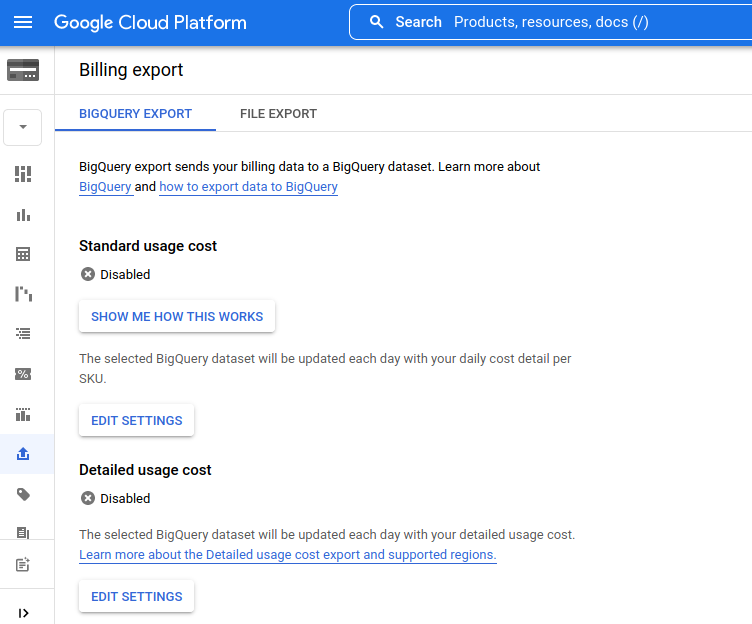
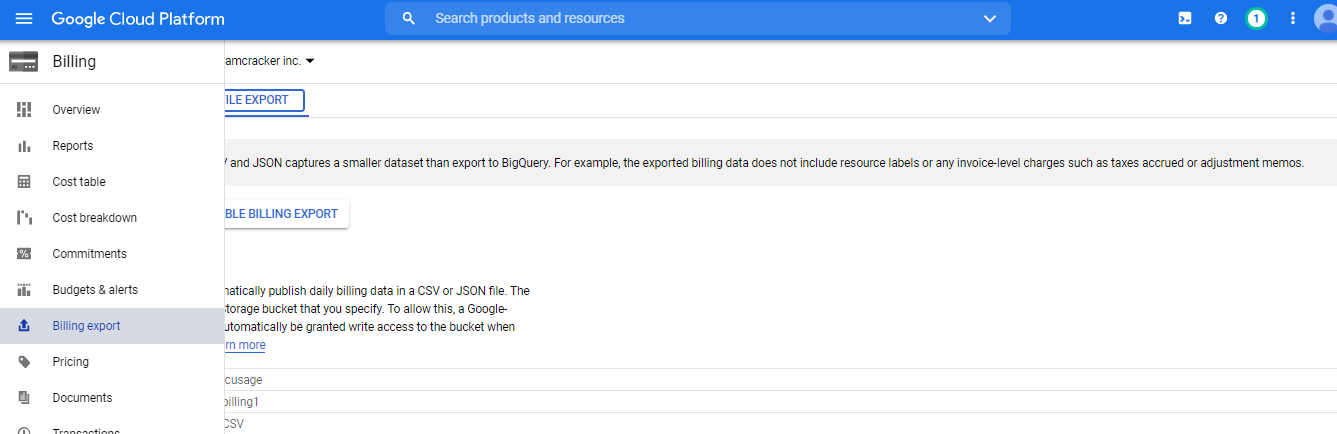
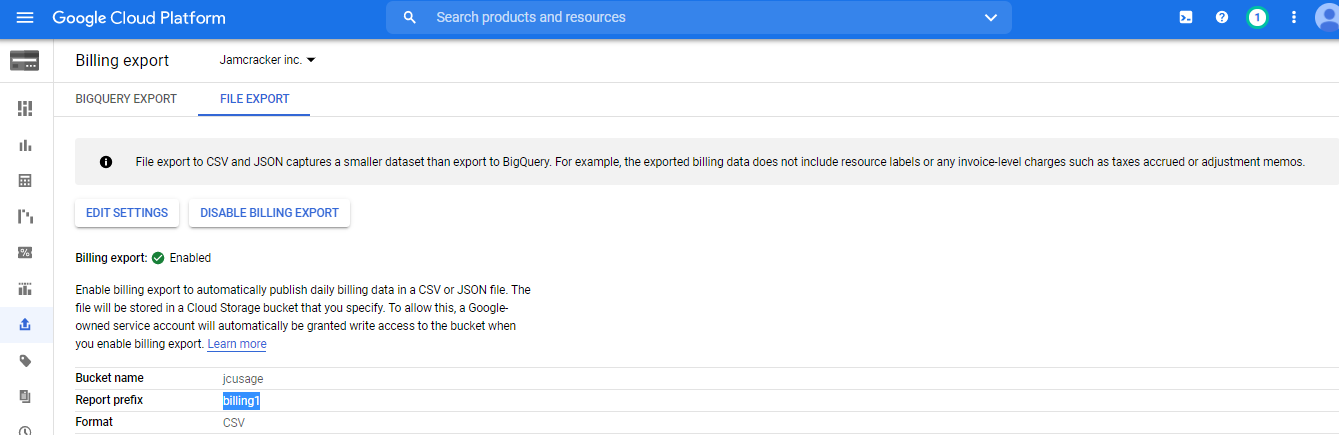
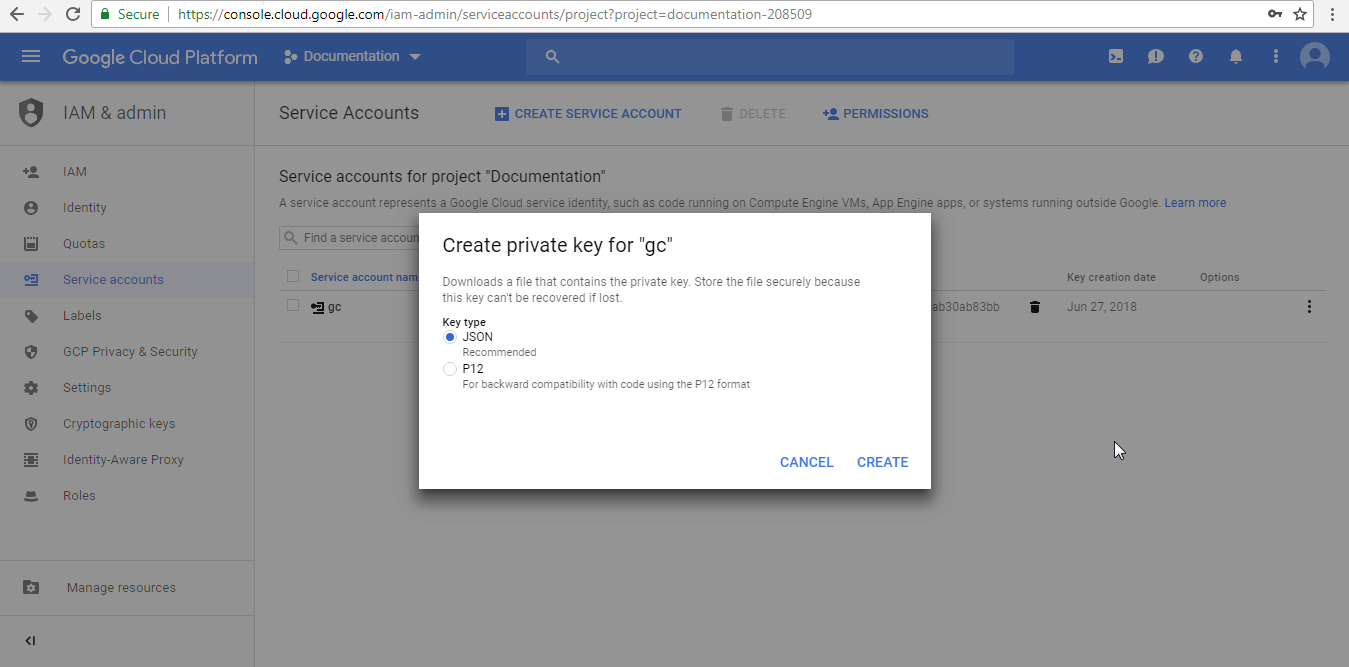
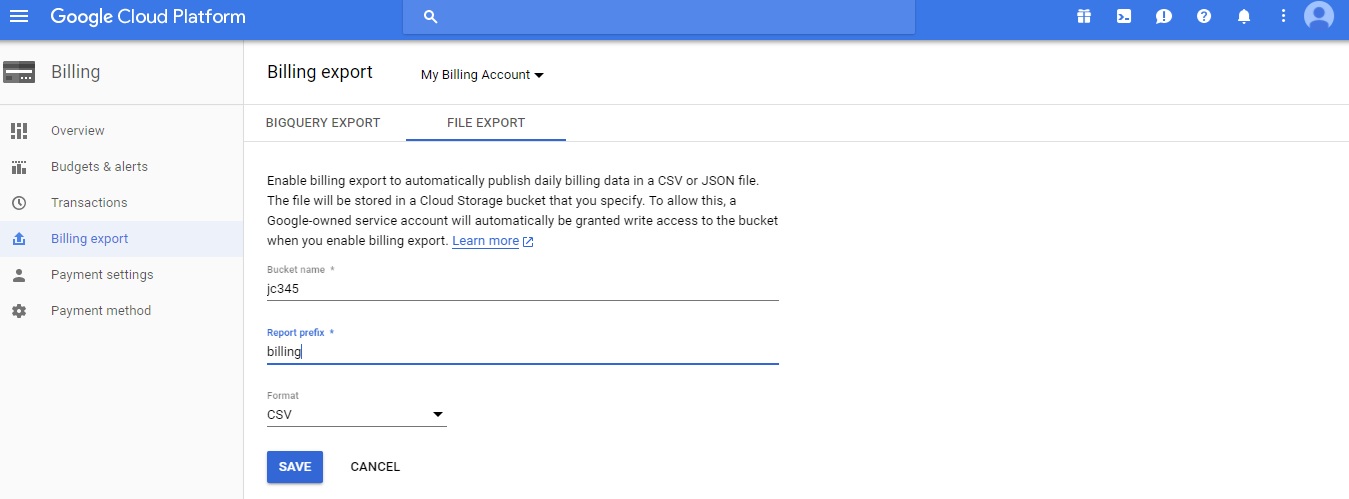
Export Cloud Billing Data
Cloud Billing export to your storage bucket enables you to export detailed Google Cloud billing data (such as usage, cost estimates, and pricing data) automatically throughout the day to a dataset that you specify. Then you can access your Cloud Billing data from your storage bucket for detailed analysis. You can also use this export method to export data to a JSON file.
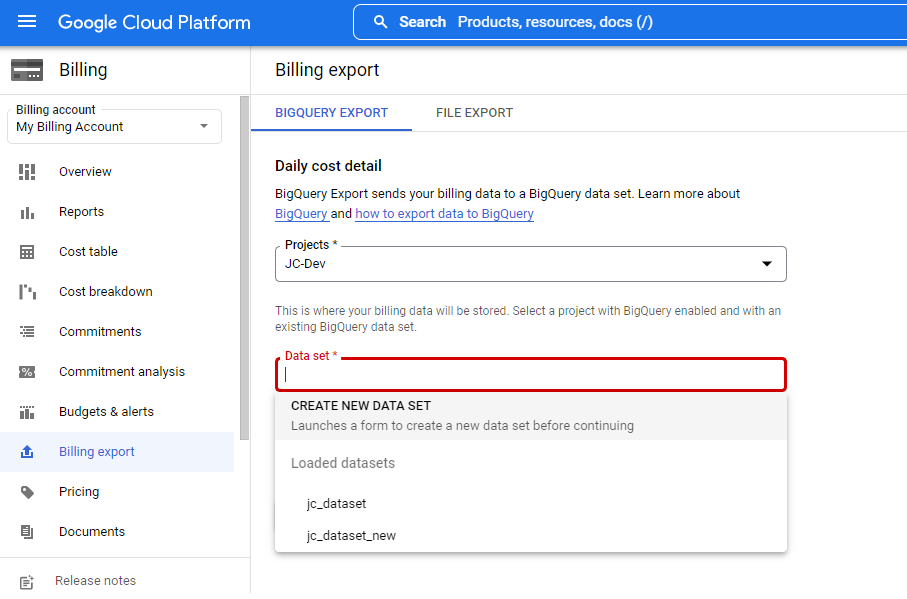
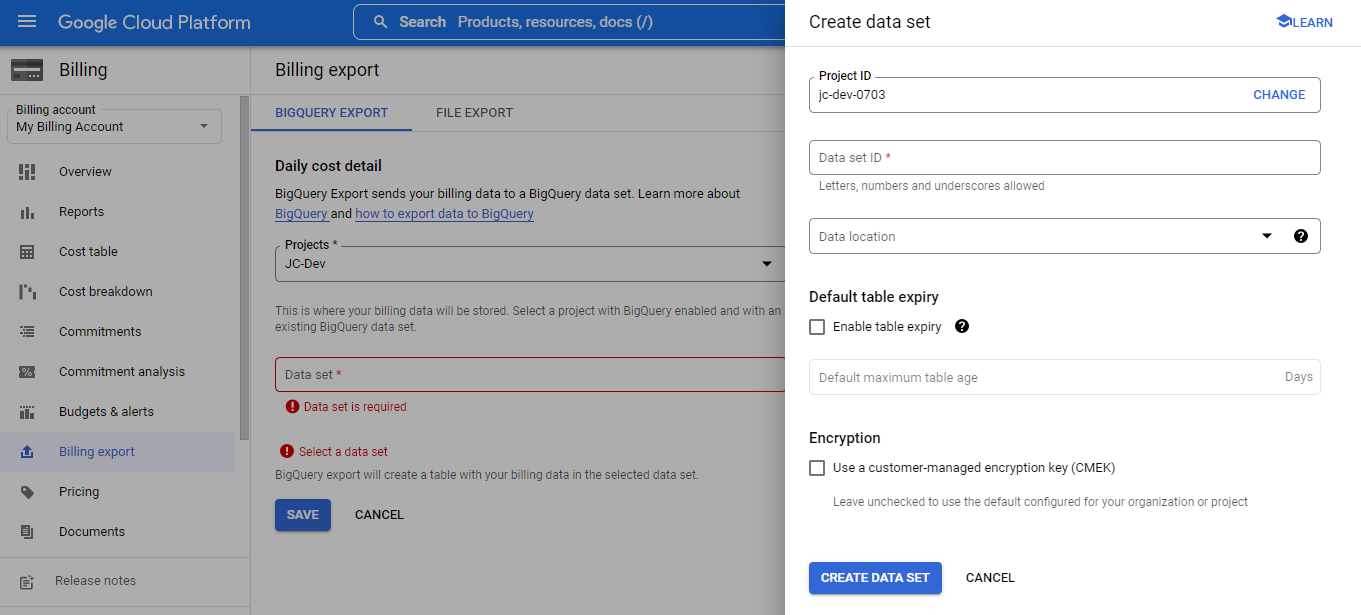
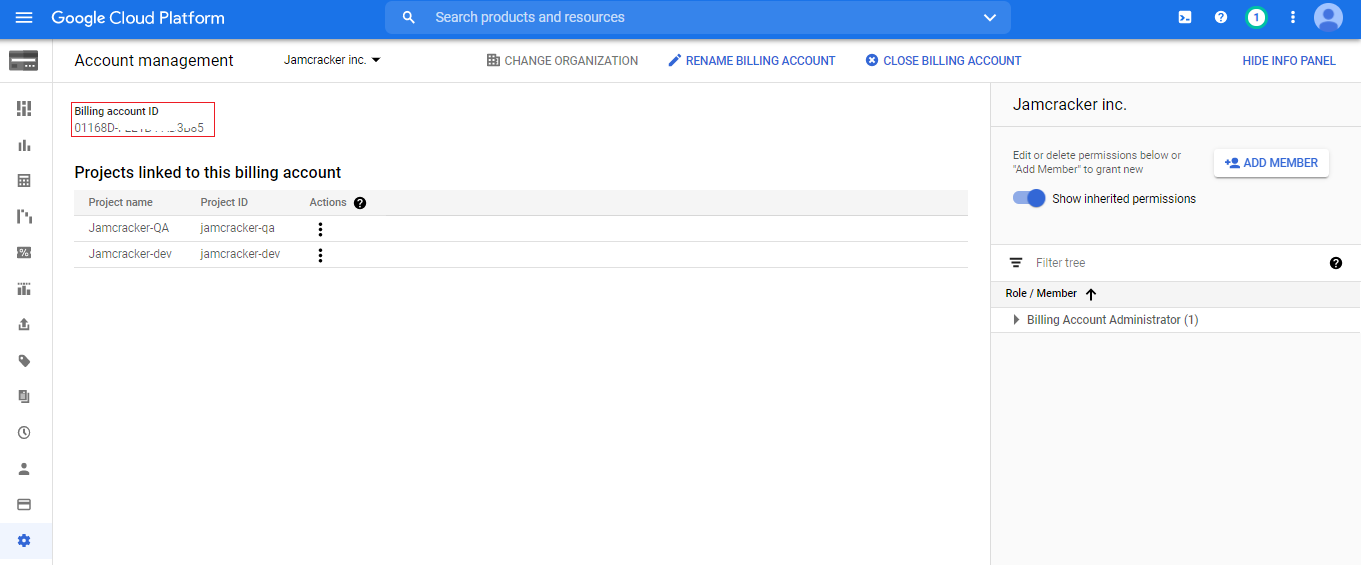
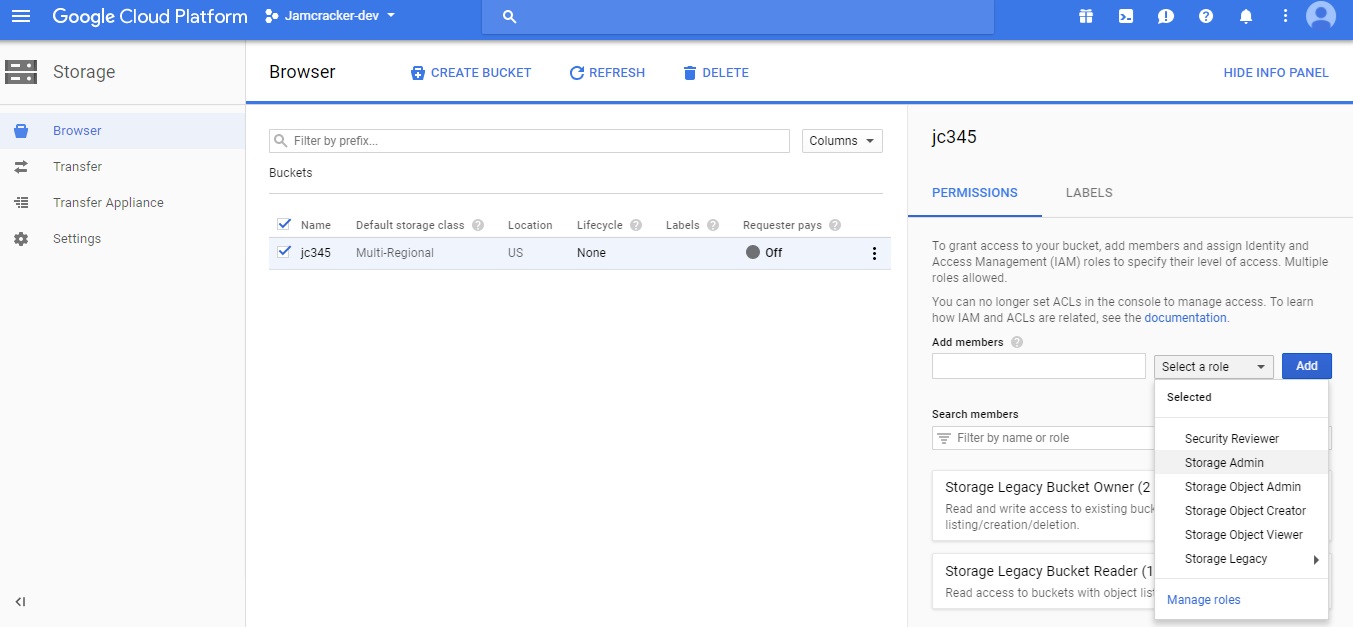
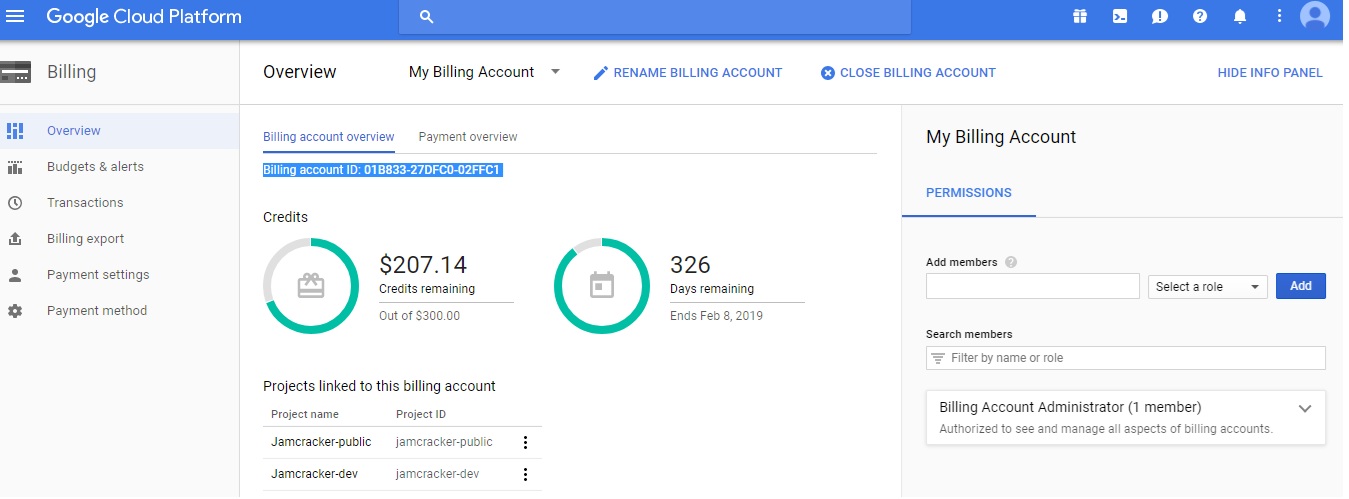
To enable and configure the export of Google Cloud billing data to a BigQuery dataset, you need the following permissions:
- Billing Account Administrator role for the target Cloud Billing account.
- BigQuery User role for the Cloud project that contains the BigQuery dataset that will be used to store the Cloud Billing data.
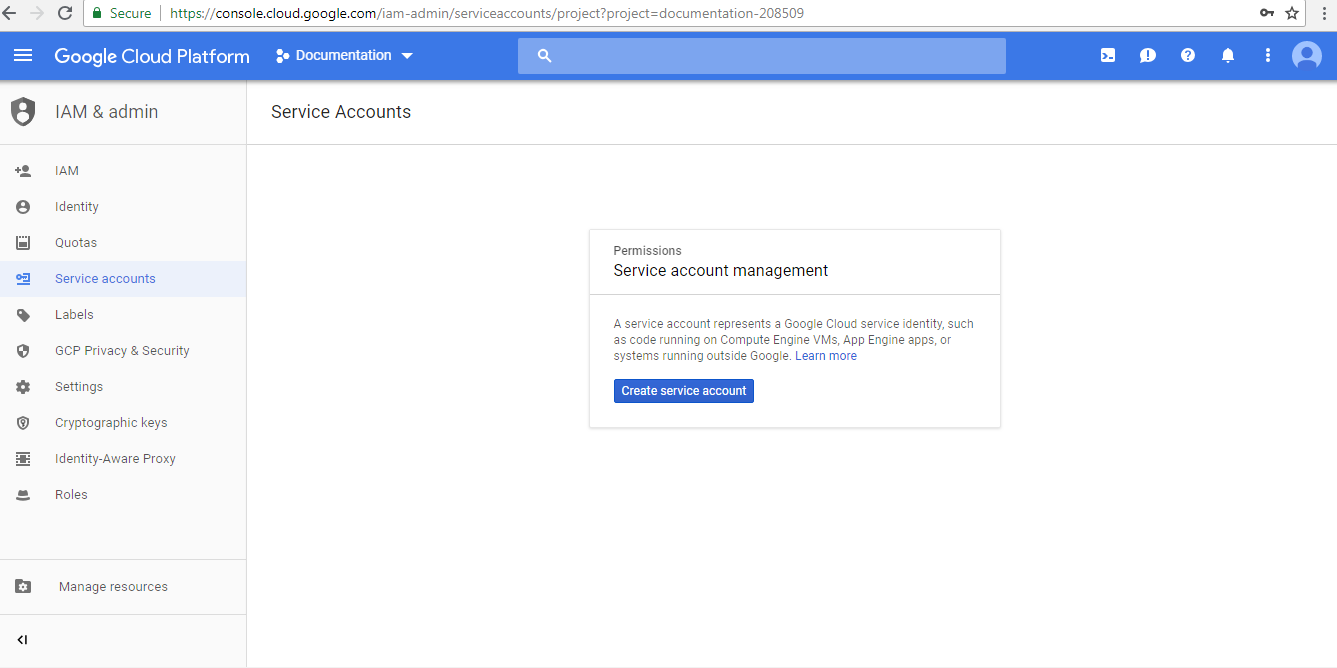
To enable Billing Account Administrator role, do the following:
- Open Google Cloud Console.
- Click Navigation menu (3 horizontal lines from the top right corner) and select IAM & Admin option.
- Click Roles from the IAM & Admin sub menu options and type BigQuery Admin in the Enter property name or value field and press Enter.
- Click the 3 vertical dots next to the role status and click Enable from the drop-down. The role gets enabled for the user account.

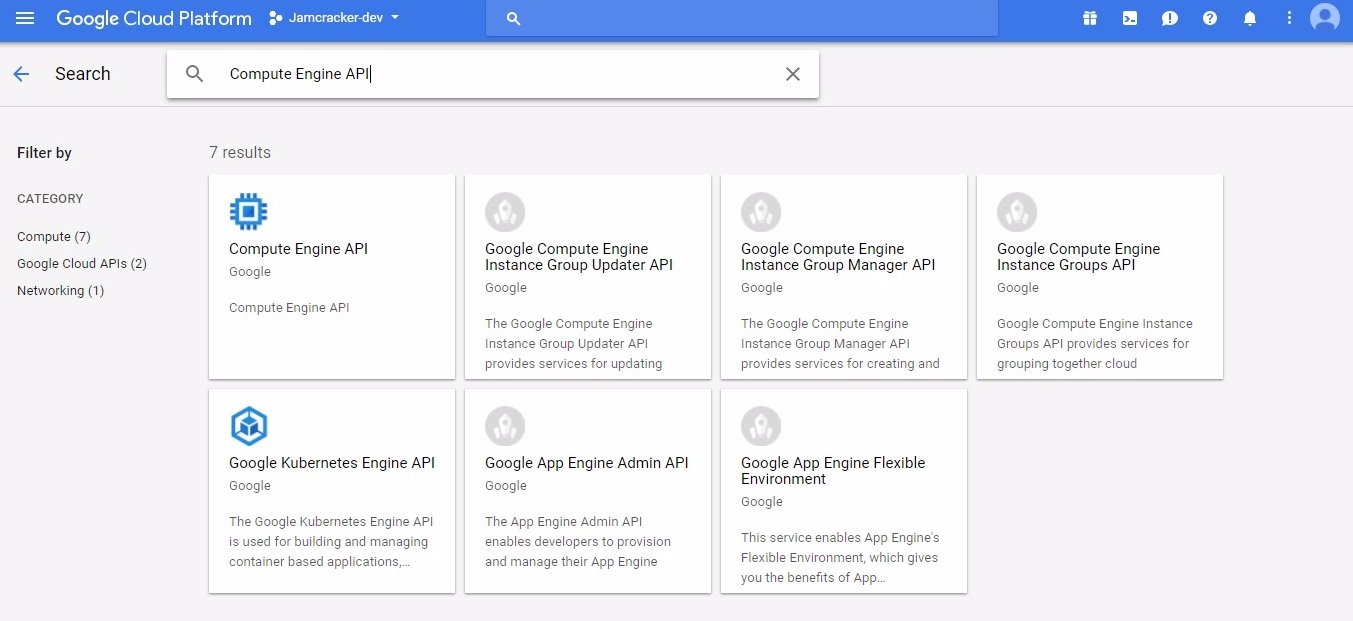
To enable APIs, do the following:
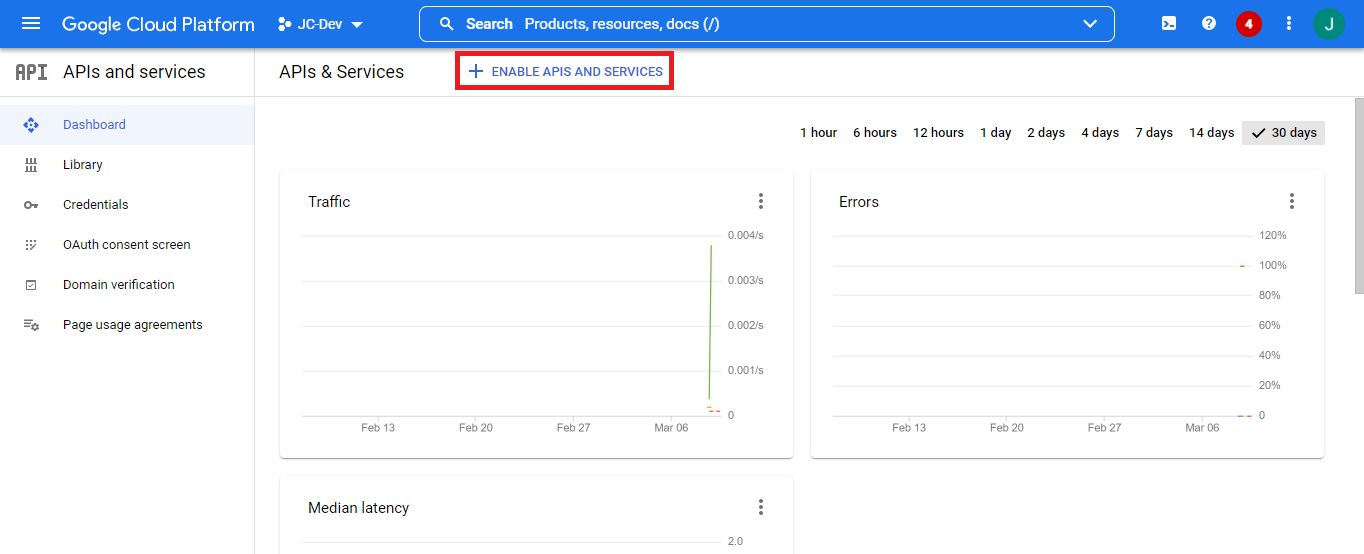
- Open Google Cloud Console.
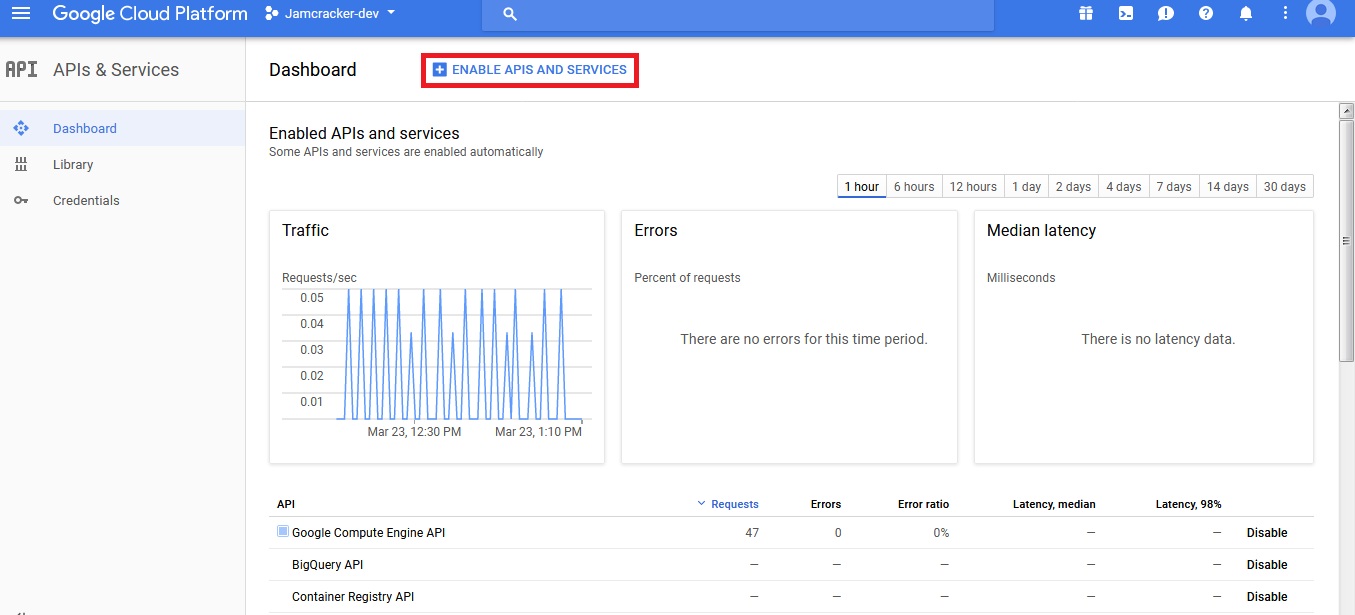
- Click Navigation menu (3 horizontal lines from the top right corner) and select APIs and Services. On the APIs and Services page, click +ENABLE APIS AND SERVICES.
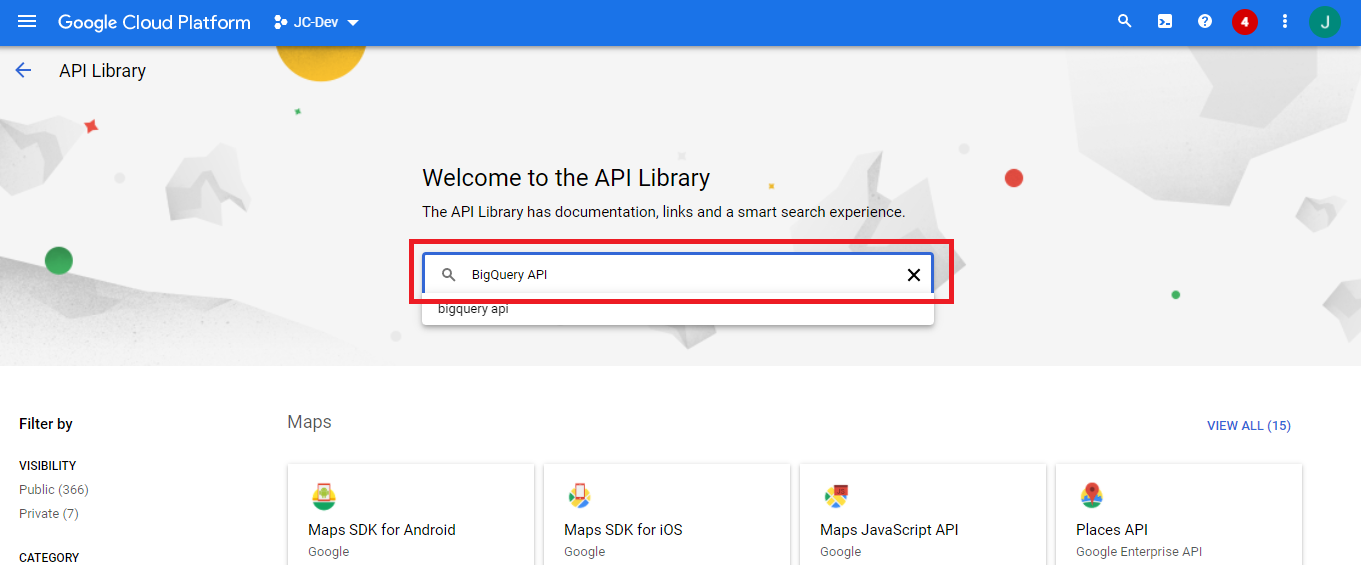
- On the API Library page, search for BigQuery API.
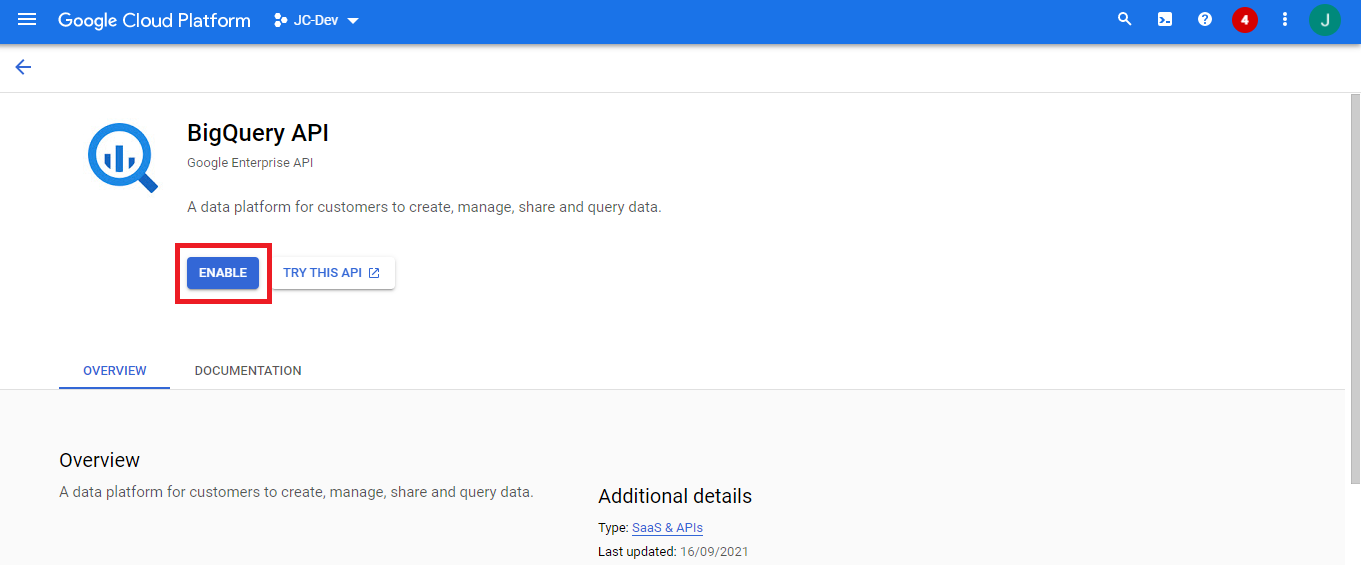
- Select BigQuerry API from the existing list of APIs and click Enable.
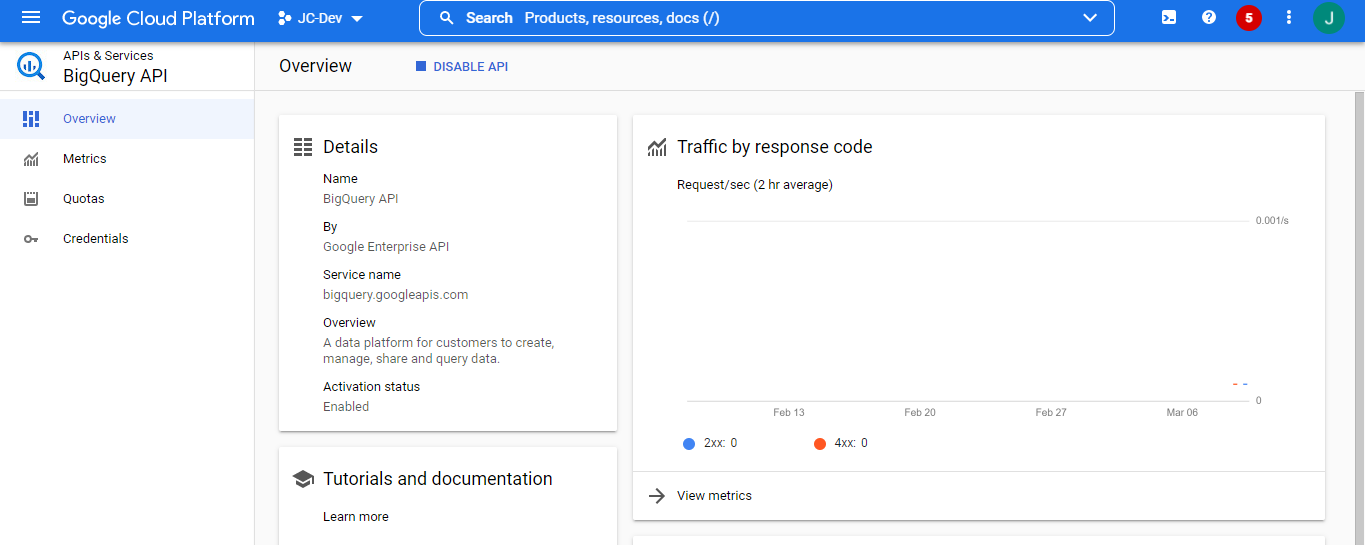
- The system will take few seconds to enable the API.