Azure PAYG Account Settings
To setup Azure Account for Jamcracker Appliance, you need to create an App in your Azure portal. Click here to know how to create an App.
So, once you are done with creating an App, you must map your Azure PAYG Account with Jamcracker Appliance.
Add Azure PAYG Cloud Service Credentials
In this section, we take you through step by step process on how to add Microsoft Azure PAYG cloud service credentials and map your Azure PAYG Credentials with your Jamcracker Appliance. Before you map your Azure PAYG Credentials, you must update Graph API Client ID and Graph API Secret Key. To update your Azure PAYG Credentials you must have the following information handy.
- Graph API Client ID
- Graph API Secret Key
- Microsoft Customer ID
- Microsoft Subscription ID
- Primary Domain
- Admin Email
Click here to know how to get your Graph API Client ID and Graph API Secret Key.
Perform the following steps to add Microsoft Azure PAYG Cloud Service Credentials:
- Login to Jamcracker Appliance using your credentials.
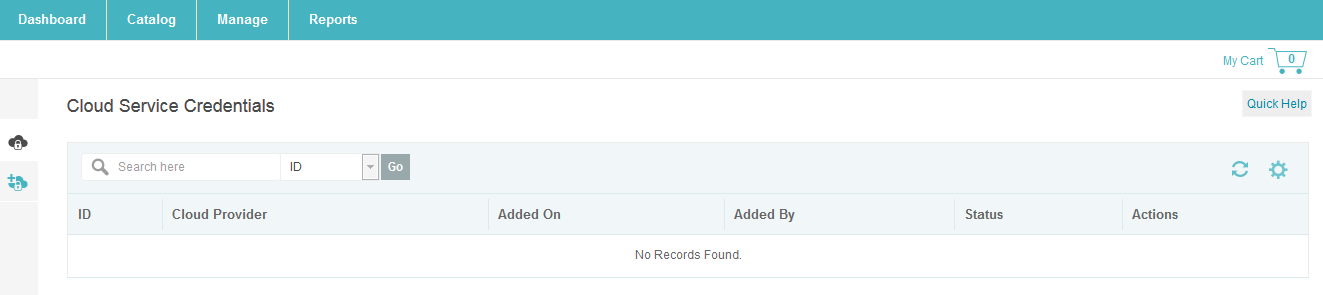
- Navigate to Manage > Cloud Service Credentials.

- On the Cloud Service Credentials page, click the Add Cloud Service
Credentials icon.
- Select the Cloud Provider from cloud provider drop-down list. Once you
select Microsoft Azure PayG, you must click Add Entity and select the Entity
(Department/Project) and click Next. Fields related to selected provider
appears on the screen.
 The following table explains the configuration settings fields for Pay-as-you-Go Account.
Table 1. Fields Value Microsoft Primary Domain Type a unique primary domain name without any extension. Example: <domain>. We assume that your primary domain extension ends with <domain.onmicrosoft.com>. Click here to know how to find your primary domain. Microsoft Customer ID Type the customer ID for the Azure account. Click here to know how to find your Customer ID. Microsoft Subscription ID Type the subscription ID. This field is displayed, if you have an account with Microsoft. Click here to know how to find your Microsoft Subscription ID. Graph API Client ID (Partner Center App ID) To get Graph API Client ID, please contact JC Sales/Support team. Or
If you have your own App, Click here to know how to obtain the App ID.
Graph API Secret Key (Partner Center Secret ID) To get Graph API Secret Key, please contact JC Sales/Support team. If you have your own Secret Key, Click here to know how to obtain the Secret Key.
Admin Email Type your primary domain email ID. - Click Save.Once you are done with adding the cloud service credentials,
refer Step 7 of Adding Cloud Service Credentials.Note: You might experience some of the features doesn't perform as expected, such as; live dashboard don't load, resources doesn't display, billing might be wrong. This is due to some of the following errors:
- You might have provided wrong credentials.
- Latency in data processing.
- If JobServer is down.
- Unexpected special characters in the processing file.
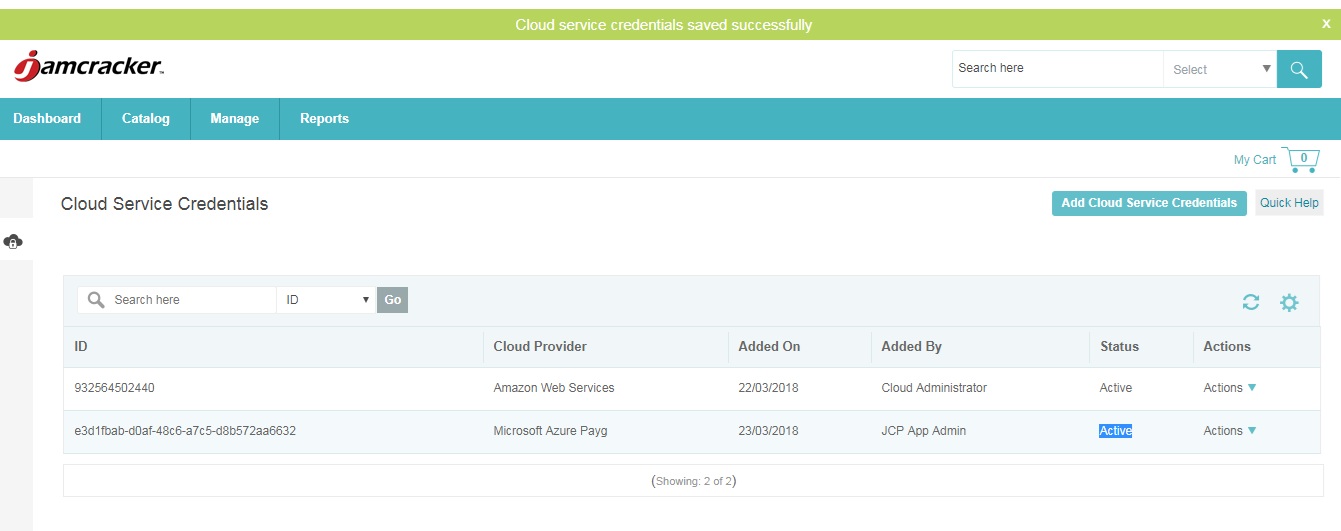
- Click Save. Cloud Service Credentials page appears on the screen with
Azure account listed in cloud service list.
Now that you have added your cloud service credentials, you must activate your account.
- Refresh the screen after 2 -3 minutes to see the status updated to Waiting for Authorization.
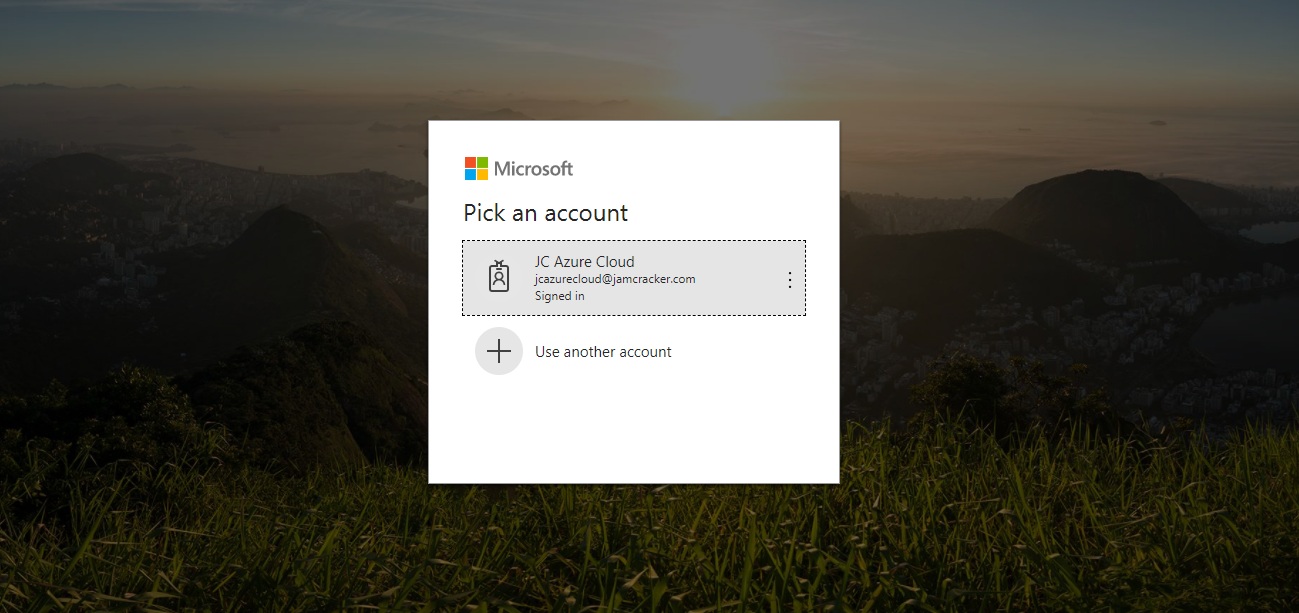
- Click Action > Validate. You will be navigated to
Microsoft login page.

- Add the Credentials (Account Admin Credentials) and click
Sign-In.
- Change Password page appears on the screen as the password shared was the default password. Set up the new password and click Save.
- Authorize by clicking on Accept.
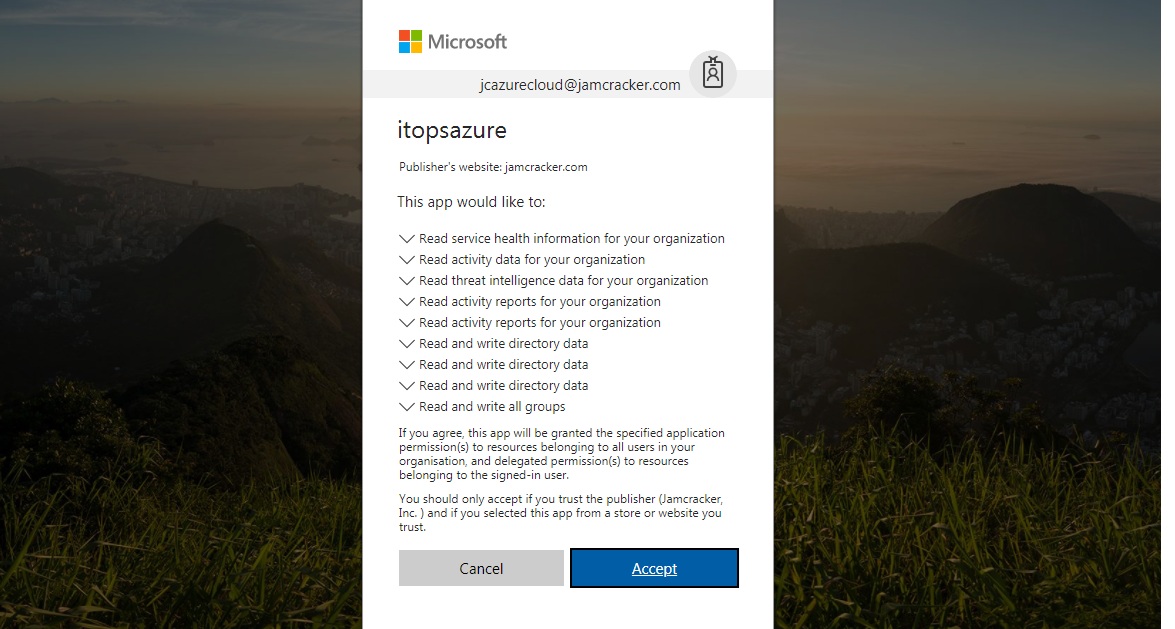
- You will be redirected back to cloud service credentials
page and the status will be updated to active.